【Swift/UIKit】文字の行間や文字同士の間隔を調整する方法!Storyboard

この記事からわかること
- Swift/UIKitで文字の行間や文字同士の間隔を調整する方法
- Storyboardで設定するには?
- NSMutableParagraphStyleやNSAttributedStringでコードから設定する方法
index
[open]
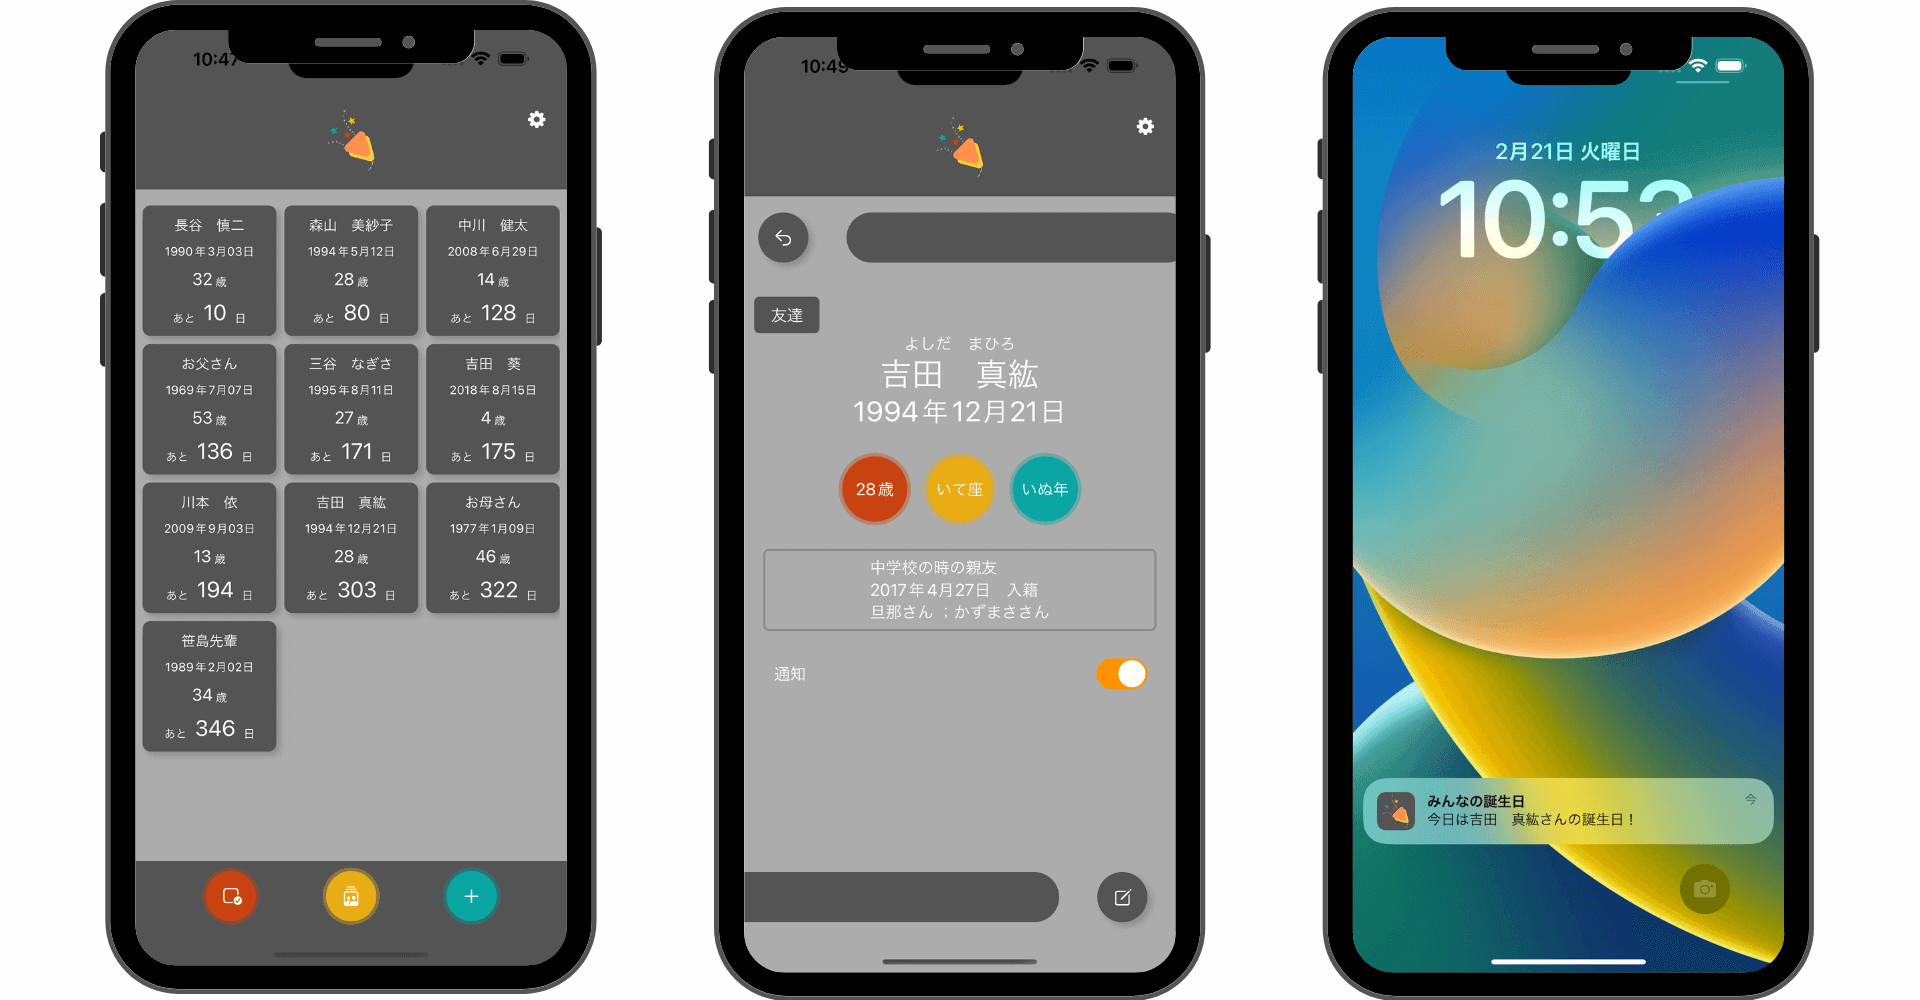
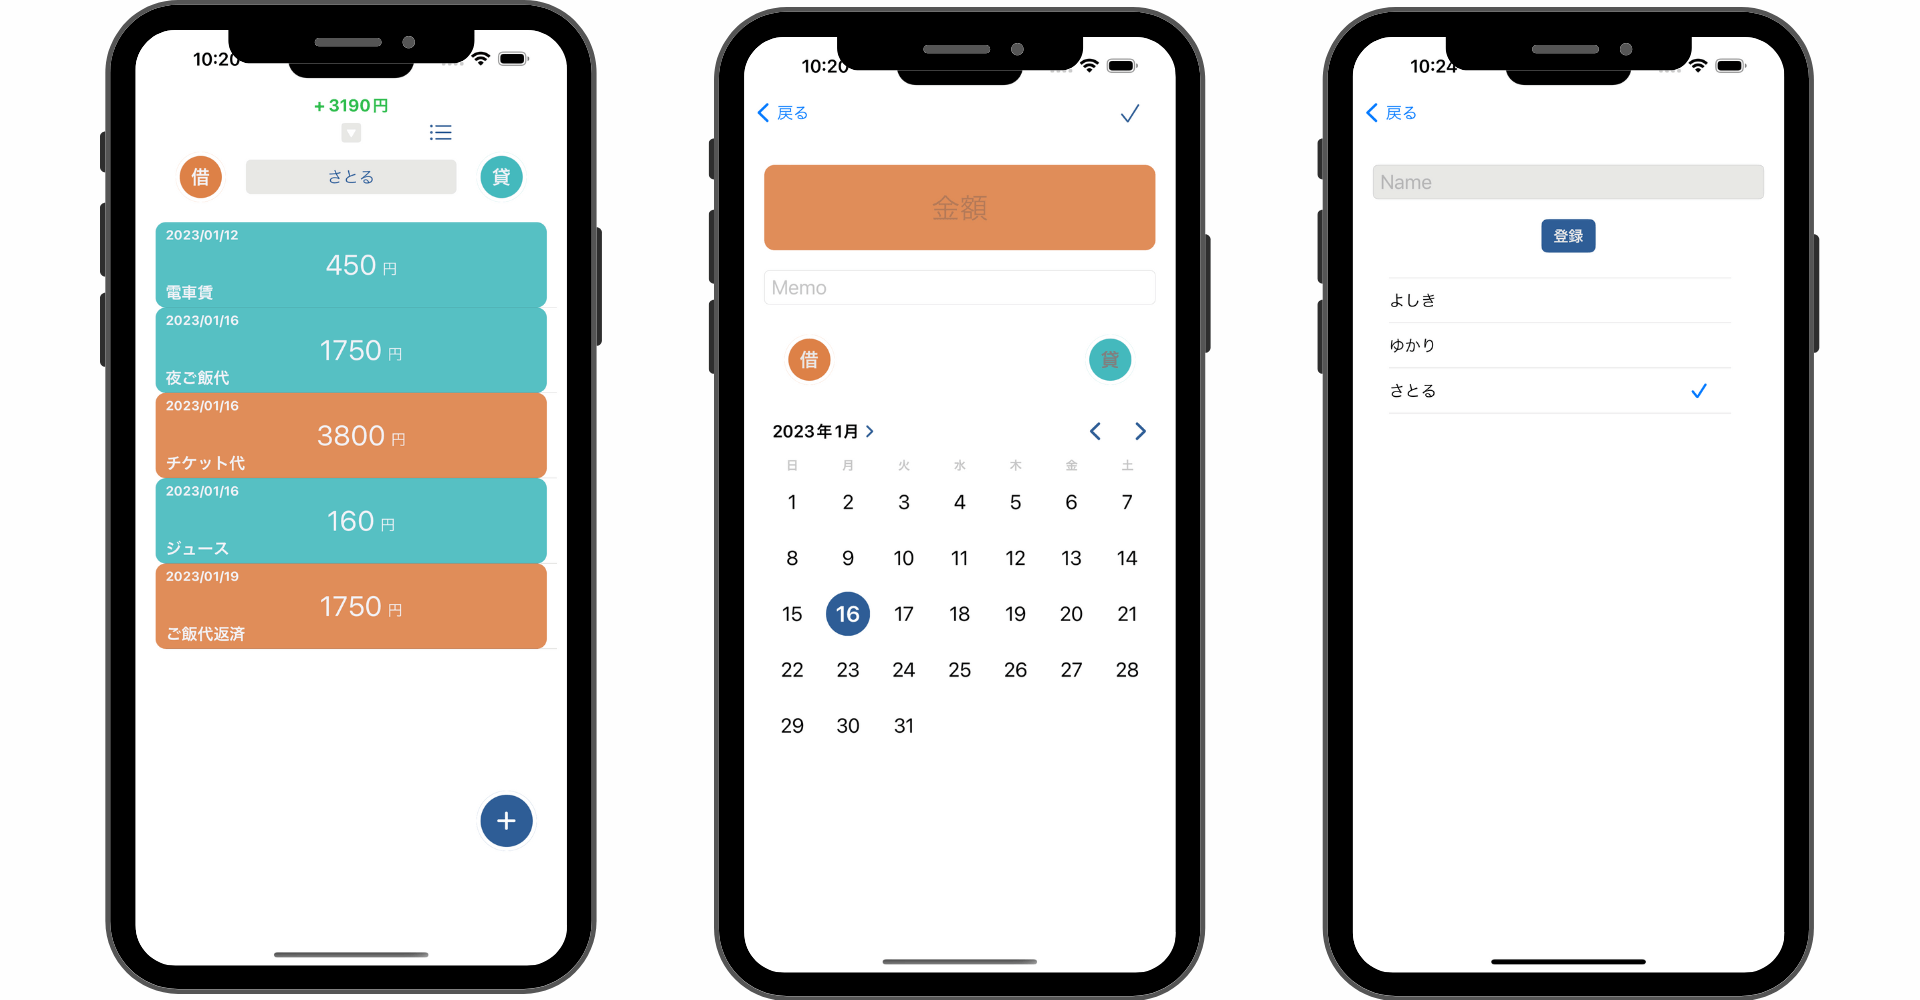
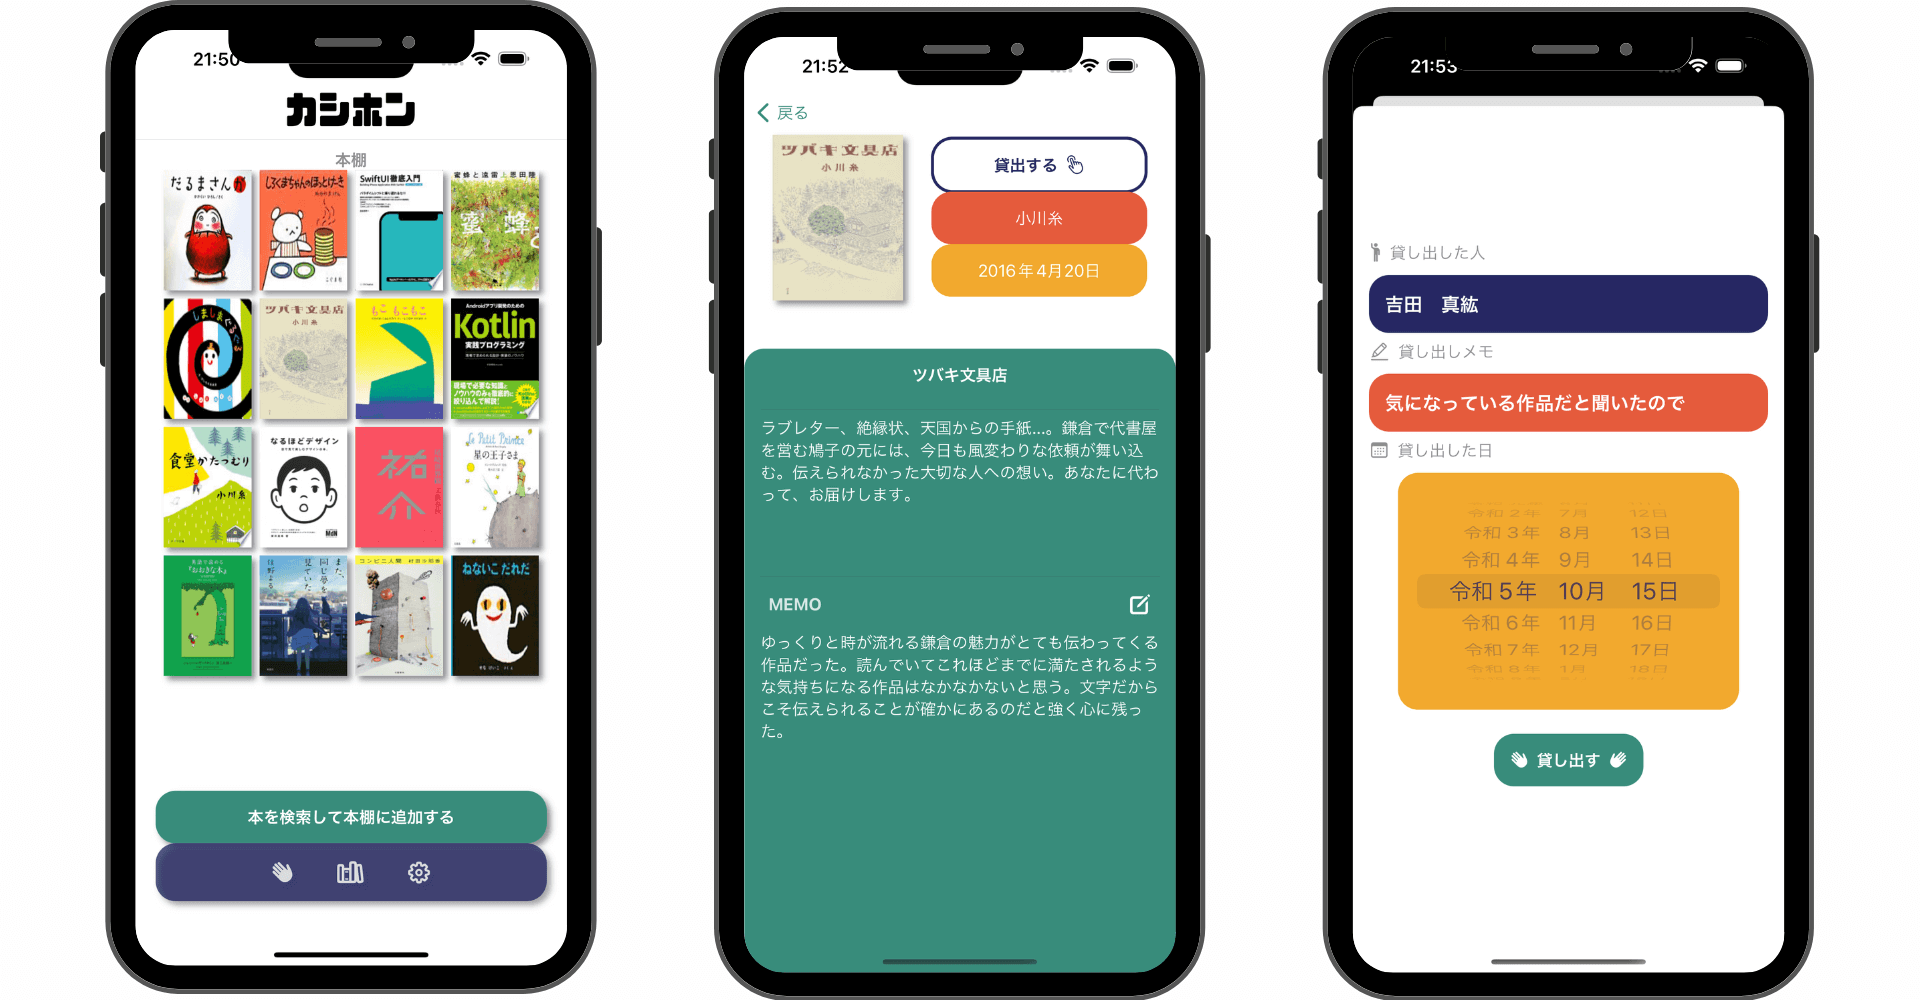
\ アプリをリリースしました /


環境
- Xcode:15.0.1
- iOS:17.0
- Swift:5.9
- macOS:Sonoma 14.1
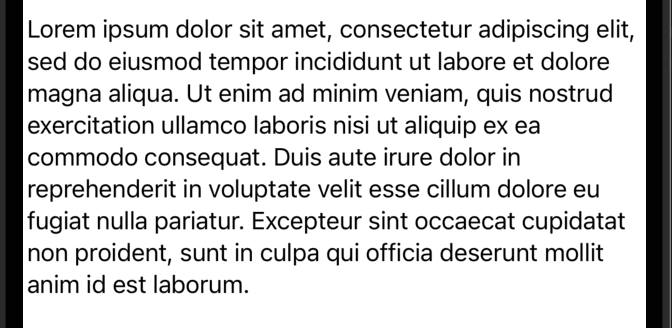
適応前
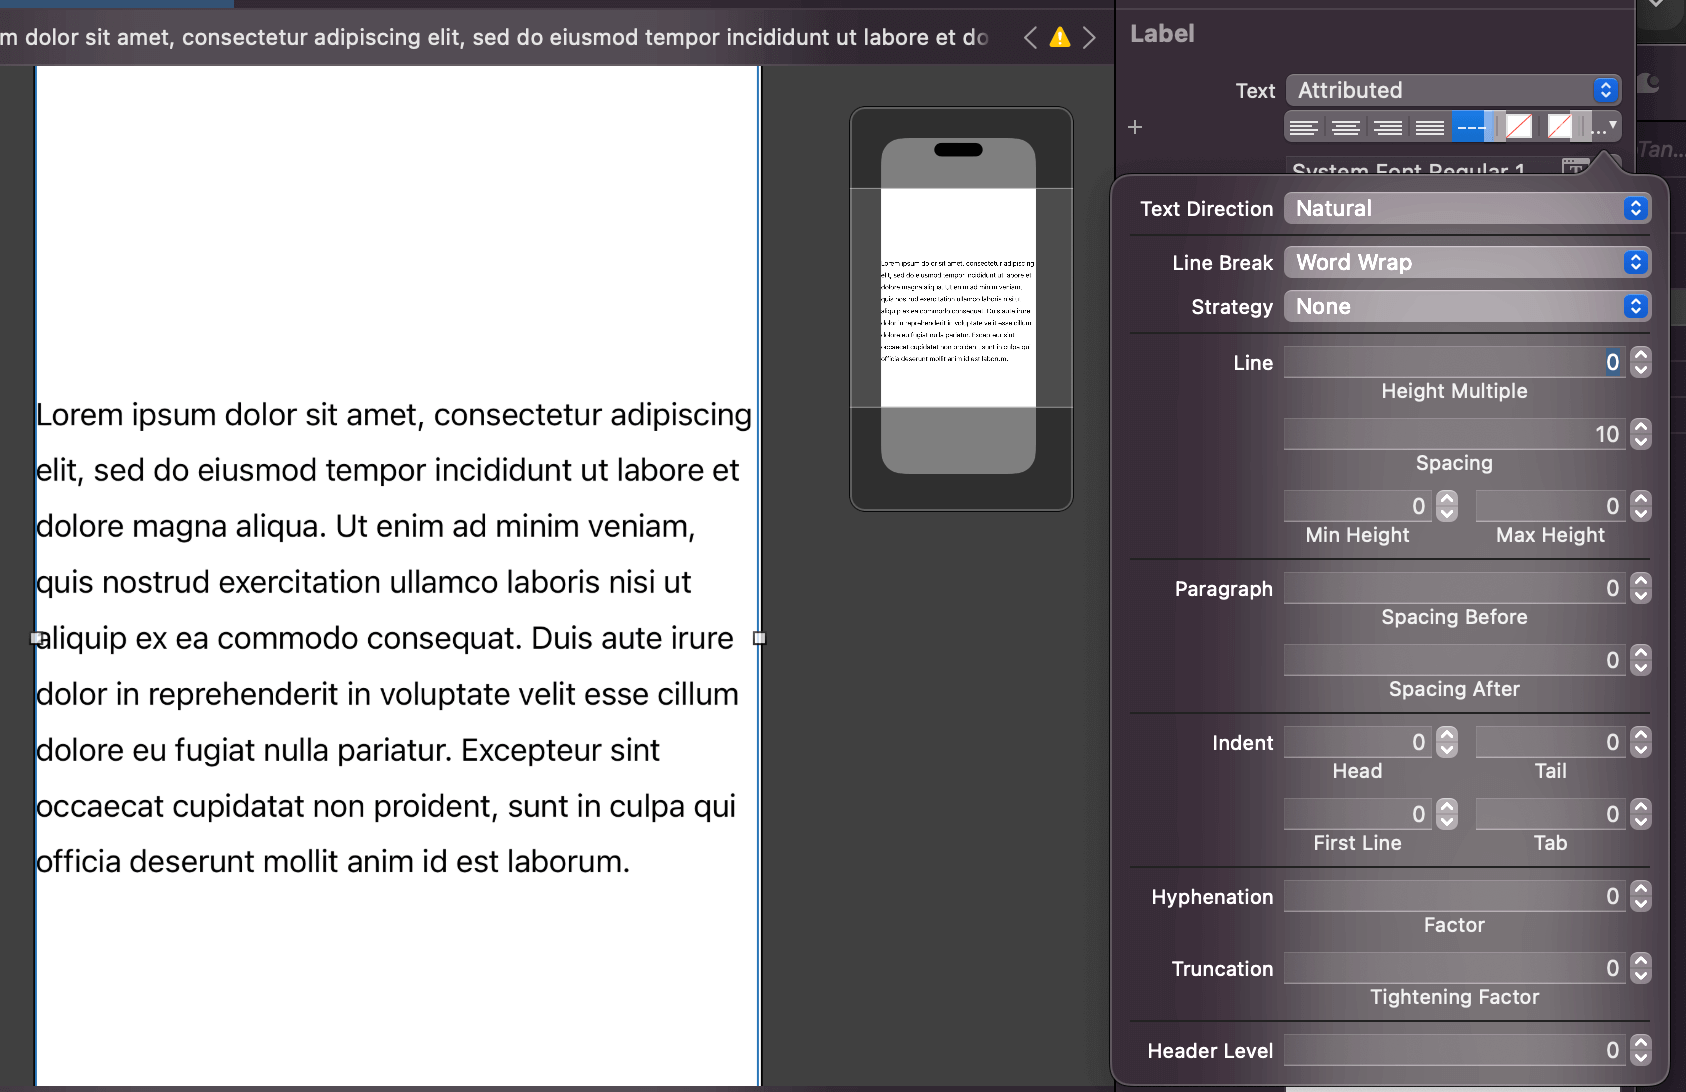
UILabelの行間を調整する方法:Storyboard
StoryboardからUILabelの行間を調整するにはインスペクタエリアから「Text」を「Plane」ではなく「Attribute」に変更して位置揃えなどが並んでいるバーの一番右の三角形をタップします。すると以下のようなポップアップが表示されるので「spacing」の値を調整することで行間を調整することができます。
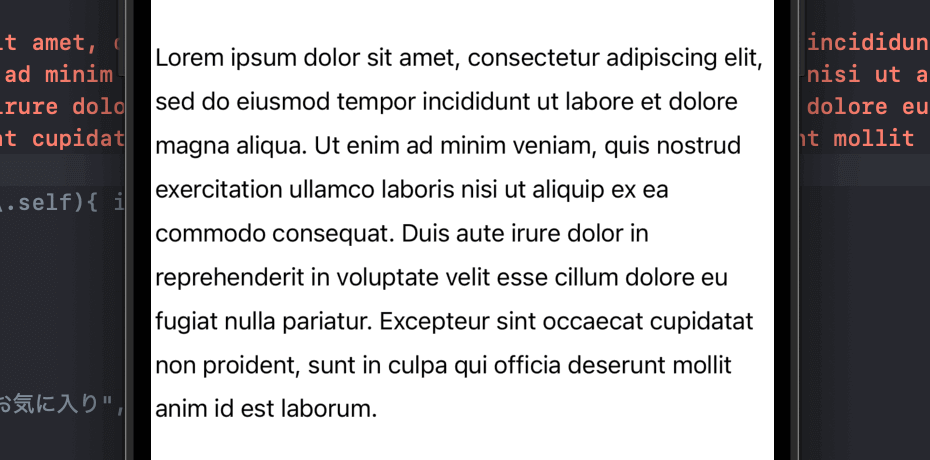
UILabelの行間を調整する方法:コード
コードからUILabelの行間を調整するにはNSMutableParagraphStyleとNSAttributedStringを使用します。キーはNSAttributedString.Key.paragraphStyleになります。
override func viewDidLoad() {
    super.viewDidLoad()

    // ラベルのインスタンスを作成
    let label = UILabel(frame: CGRect(x: 0, y: 0, width: UIScreen.main.bounds.width, height: UIScreen.main.bounds.height))
    label.center = view.center
    // 表示可能な行数を指定
    label.numberOfLines = 100
    // 行間を設定するためのスタイルを作成
    let paragraphStyle = NSMutableParagraphStyle()
    // 行間の値を指定
    paragraphStyle.lineSpacing = 10

    let text = "Lorem ipsum dolor sit amet, consectetur adipiscing elit,\n sed do eiusmod tempor incididunt ut labore et dolore magna aliqua.\n Ut enim ad minim veniam, quis nostrud exercitation ullamco laboris nisi ut aliquip ex ea commodo consequat.\n Duis aute irure dolor in reprehenderit in voluptate velit esse cillum dolore eu fugiat nulla pariatur.\n Excepteur sint occaecat cupidatat non proident,\n sunt in culpa qui officia deserunt mollit anim id est laborum."

    // スタイルを含む属性文字列を作成
    let attributedText = NSAttributedString(string: text, attributes: [NSAttributedString.Key.paragraphStyle: paragraphStyle])

    // ラベルに属性文字列を設定
    label.attributedText = attributedText
    view.addSubview(label)
}
UILabelの文字の間隔を調整する方法:コード
コードからUILabelの文字の間隔を調整するには先ほど同様にNSAttributedStringを使用します。キーはNSAttributedString.Key.kernになります。
// ラベルのインスタンスを作成
let label = UILabel(frame: CGRect(x: 0, y: 0, width: UIScreen.main.bounds.width, height: UIScreen.main.bounds.height))
label.center = view.center
label.numberOfLines = 100

// 文字の間隔を指定
let letterSpacing: CGFloat = 10.0

let text = "Lorem ipsum dolor sit amet, consectetur adipiscing elit,\n sed do eiusmod tempor incididunt ut labore et dolore magna aliqua.\n Ut enim ad minim veniam, quis nostrud exercitation ullamco laboris nisi ut aliquip ex ea commodo consequat.\n Duis aute irure dolor in reprehenderit in voluptate velit esse cillum dolore eu fugiat nulla pariatur.\n Excepteur sint occaecat cupidatat non proident,\n sunt in culpa qui officia deserunt mollit anim id est laborum."

// スタイルを含む属性文字列を作成
let attributedText = NSAttributedString(string: text, attributes: [NSAttributedString.Key.kern: letterSpacing])

// ラベルに属性文字列を設定
label.attributedText = attributedText
view.addSubview(label)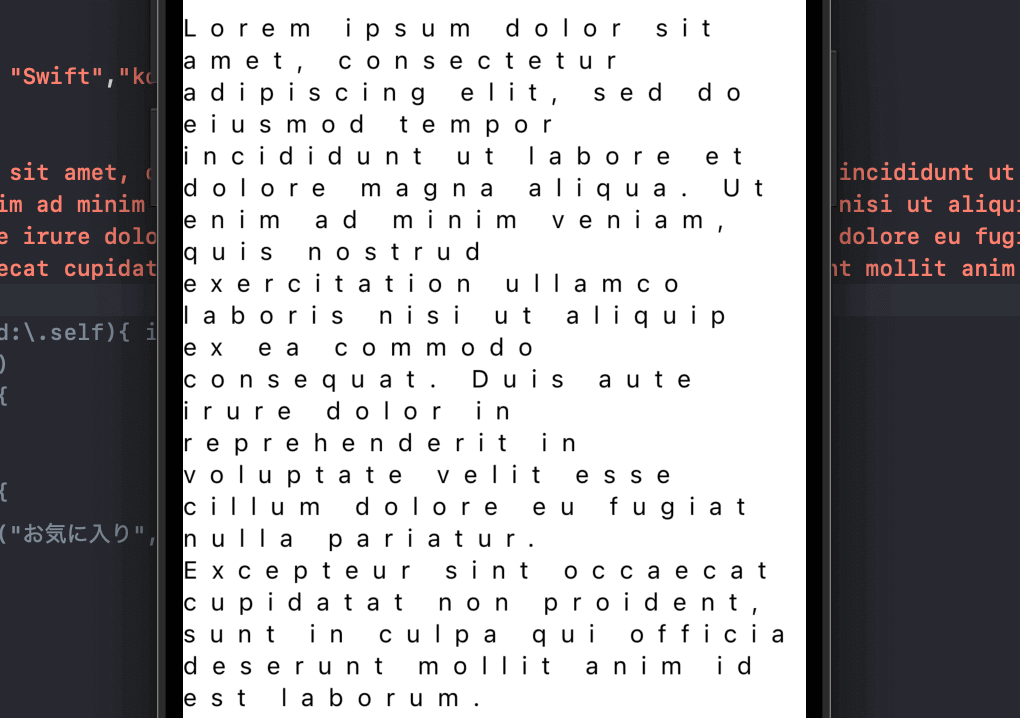
「カーニング」とはソフトウェアなどでの隣通りの文字同士間隔を調整する機能のことを指します。
Swift UIはこちら
まだまだ勉強中ですので間違っている点や至らぬ点がありましたら教えていただけると助かります。
ご覧いただきありがとうございました。