【Swift UI/Firebase】AuthenticationでGoogleアカウントでログインを実装する方法!

この記事からわかること
- Swift/Firebaseで作成したiOSアプリにAuthenticationを導入する方法
- Googleアカウントでログインできるようにする方法
- Swift UIでログイン処理を実装する方法
index
[open]
\ アプリをリリースしました /


今回はFirebase Authenticationでログイン機能を実装する際に、Googleアカウントでログインできるようにする方法をまとめていきます。
FirebaseでAuthenticationの概要や登録方法については下記記事を参考にしてください。
AuthenticationでGoogleアカウントでログインする方法
参考文献:AppleプラットフォームでのGoogleサインインを使用した認証
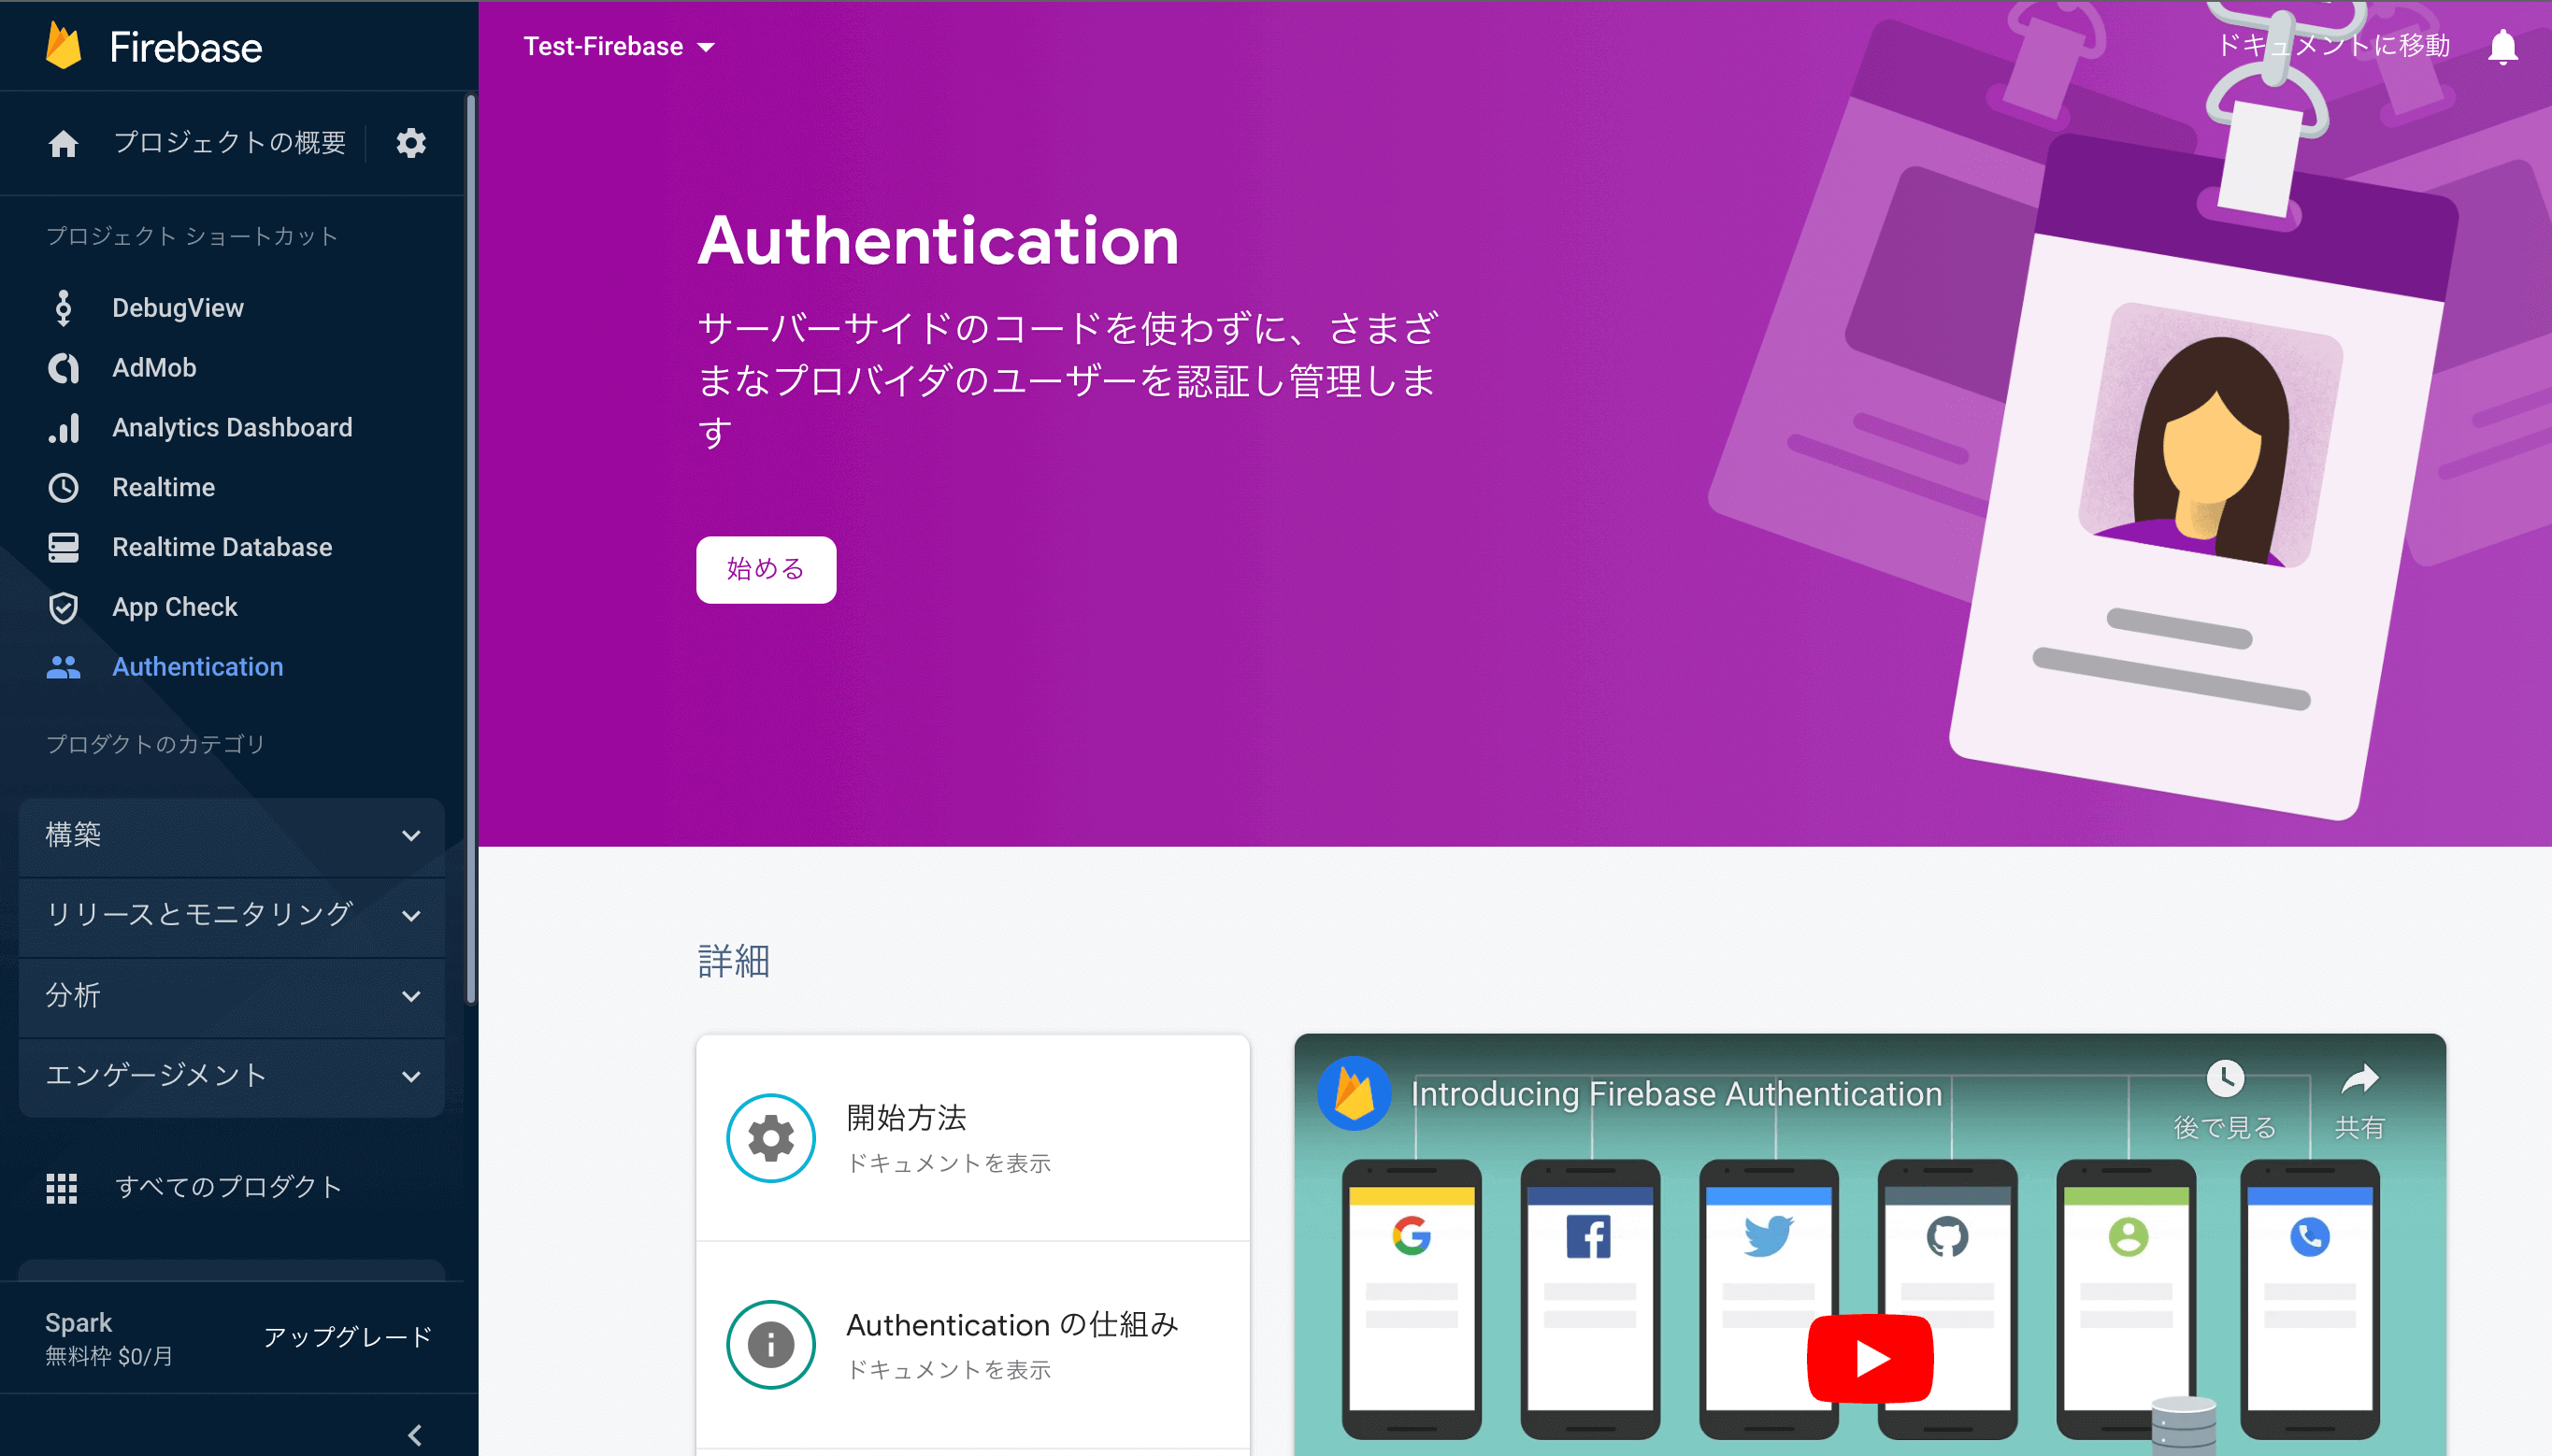
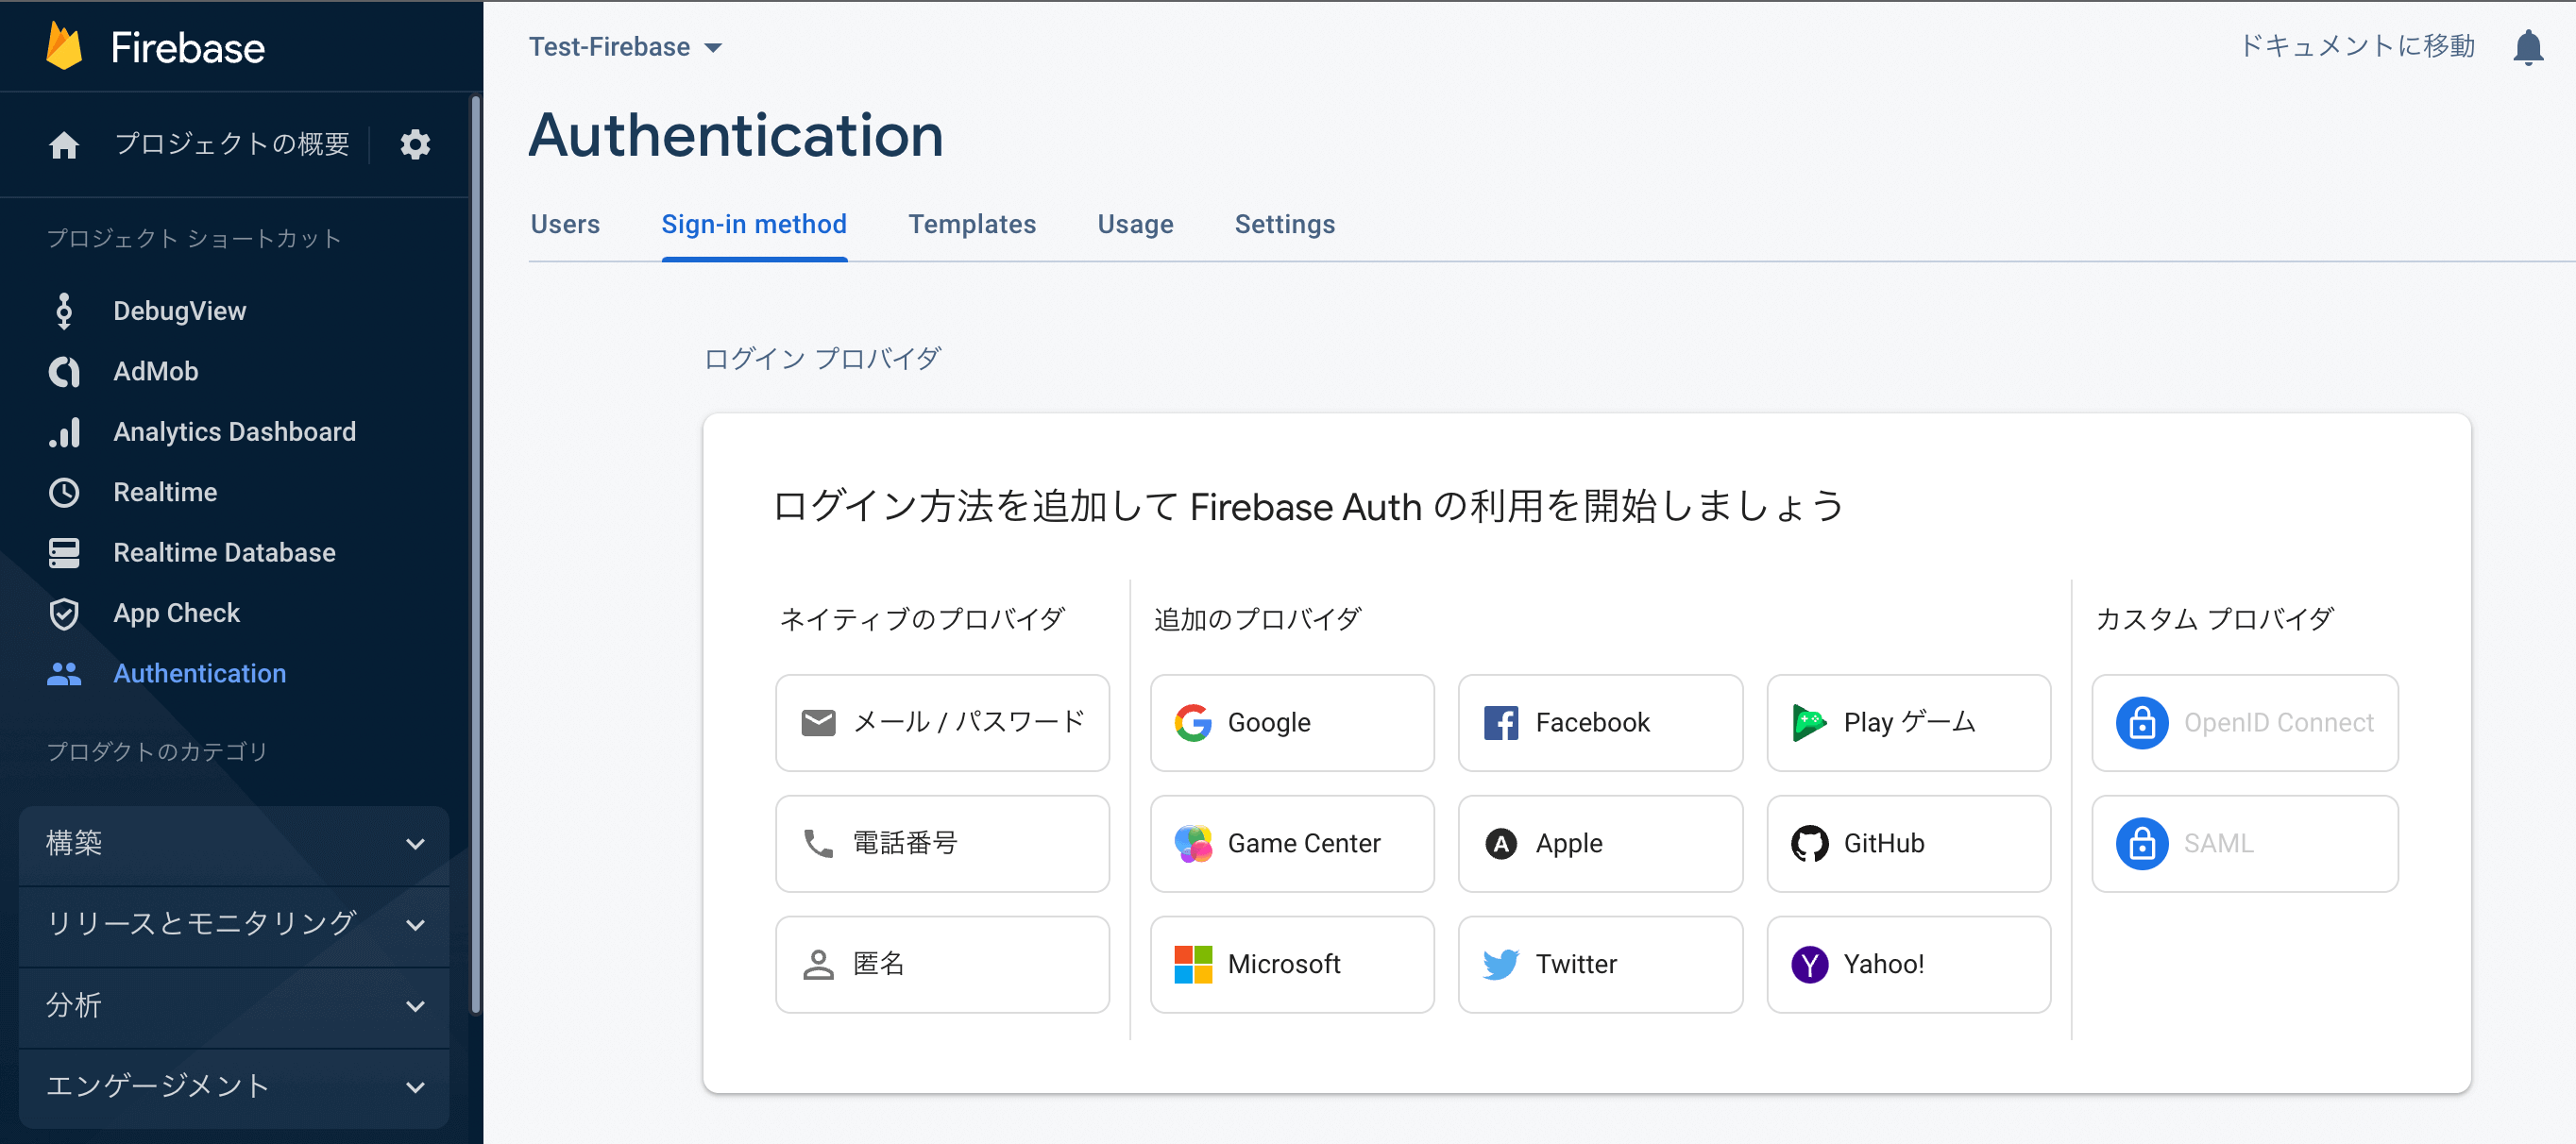
まずはFirebase Authenticationを「始める」をクリックして認証するログインプロバイダを選択します。
ここでGoogleを選択します。
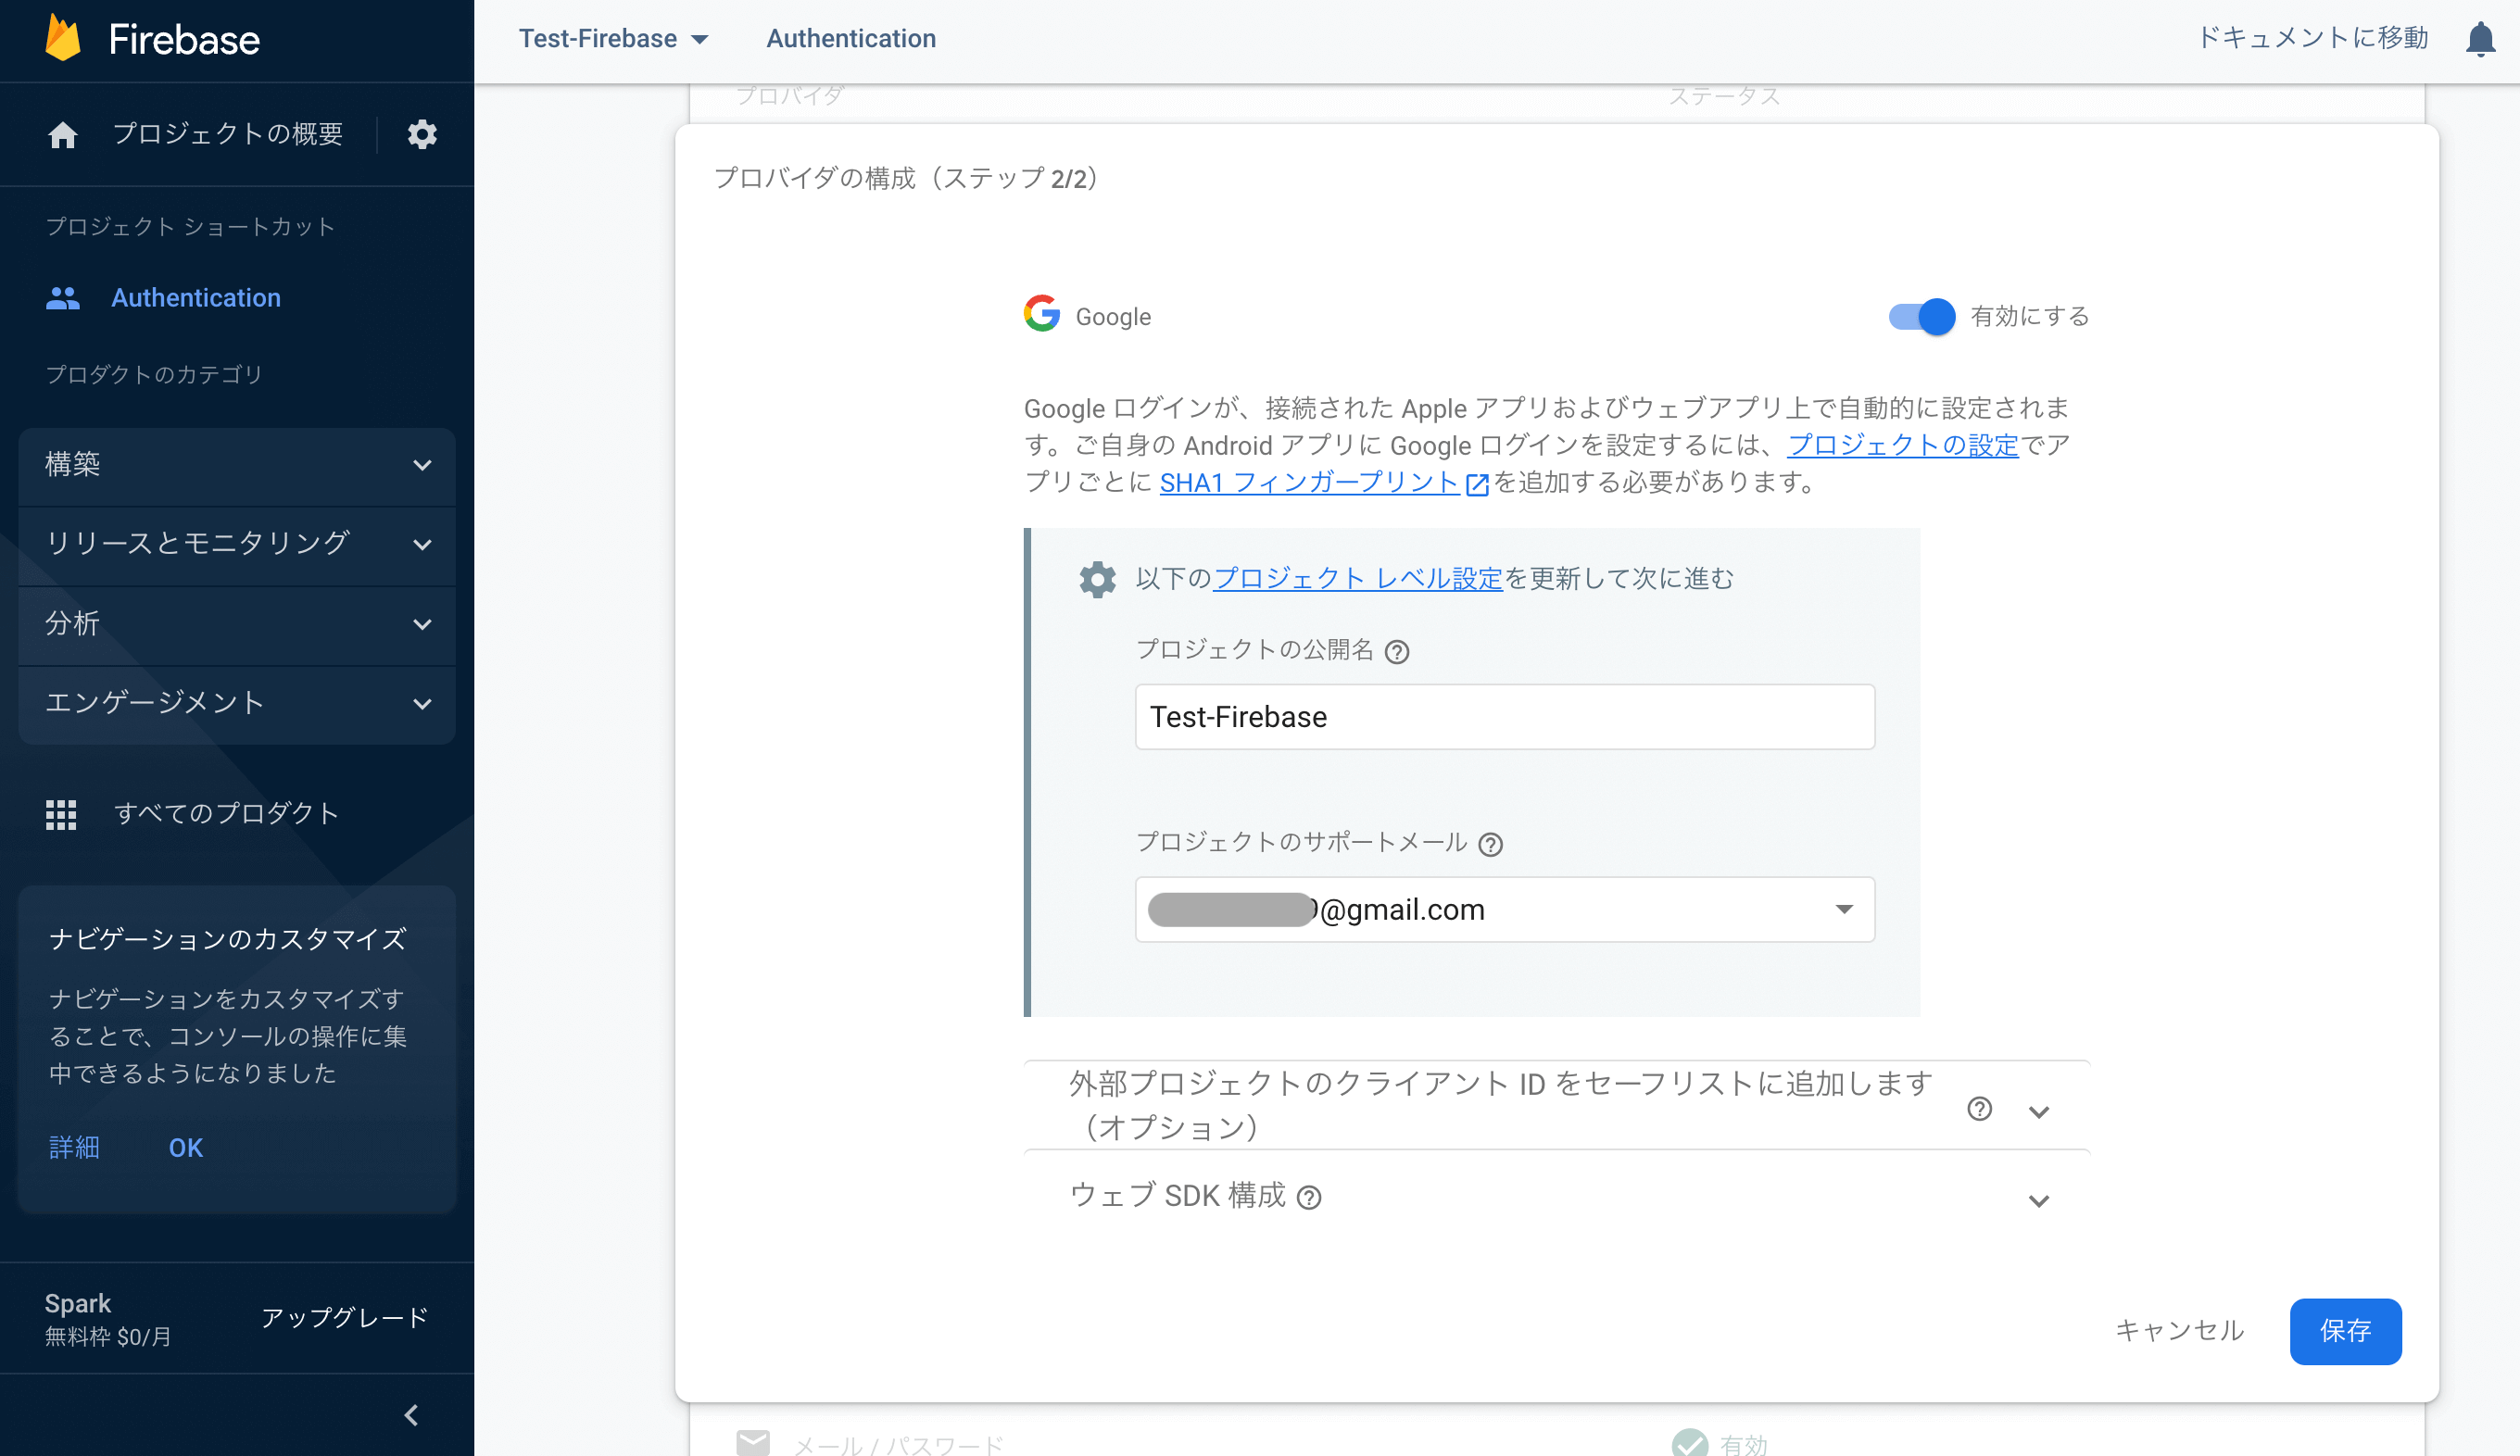
「有効にする」にチェックを入れてサポートメールアドレスを設定しておきます。
これでプロジェクトの準備が整ったのでプロジェクトにiOSアプリを追加しておいてください。ここらへんの詳細な流れは以下の記事を参考にしてください。
【Swift/Xcode】Firebaseの導入方法!iOSアプリでの使い方
Authentication SDKの導入
「Cocoa Pods」を使用して「Authentication SDK」を導入していきます。「PodFile」に以下の文を追記してpod installを実行します。
pod 'FirebaseAuth'
pod 'GoogleSignIn'おすすめ記事:【Swift UI】CocoaPodsのインストール方法と使い方!
カスタムURLスキームの追加
ライブラリをインストールしたら追加した「GoogleService-Info.plist」の「REVERSED_CLIENT_ID」の値をコピーします。
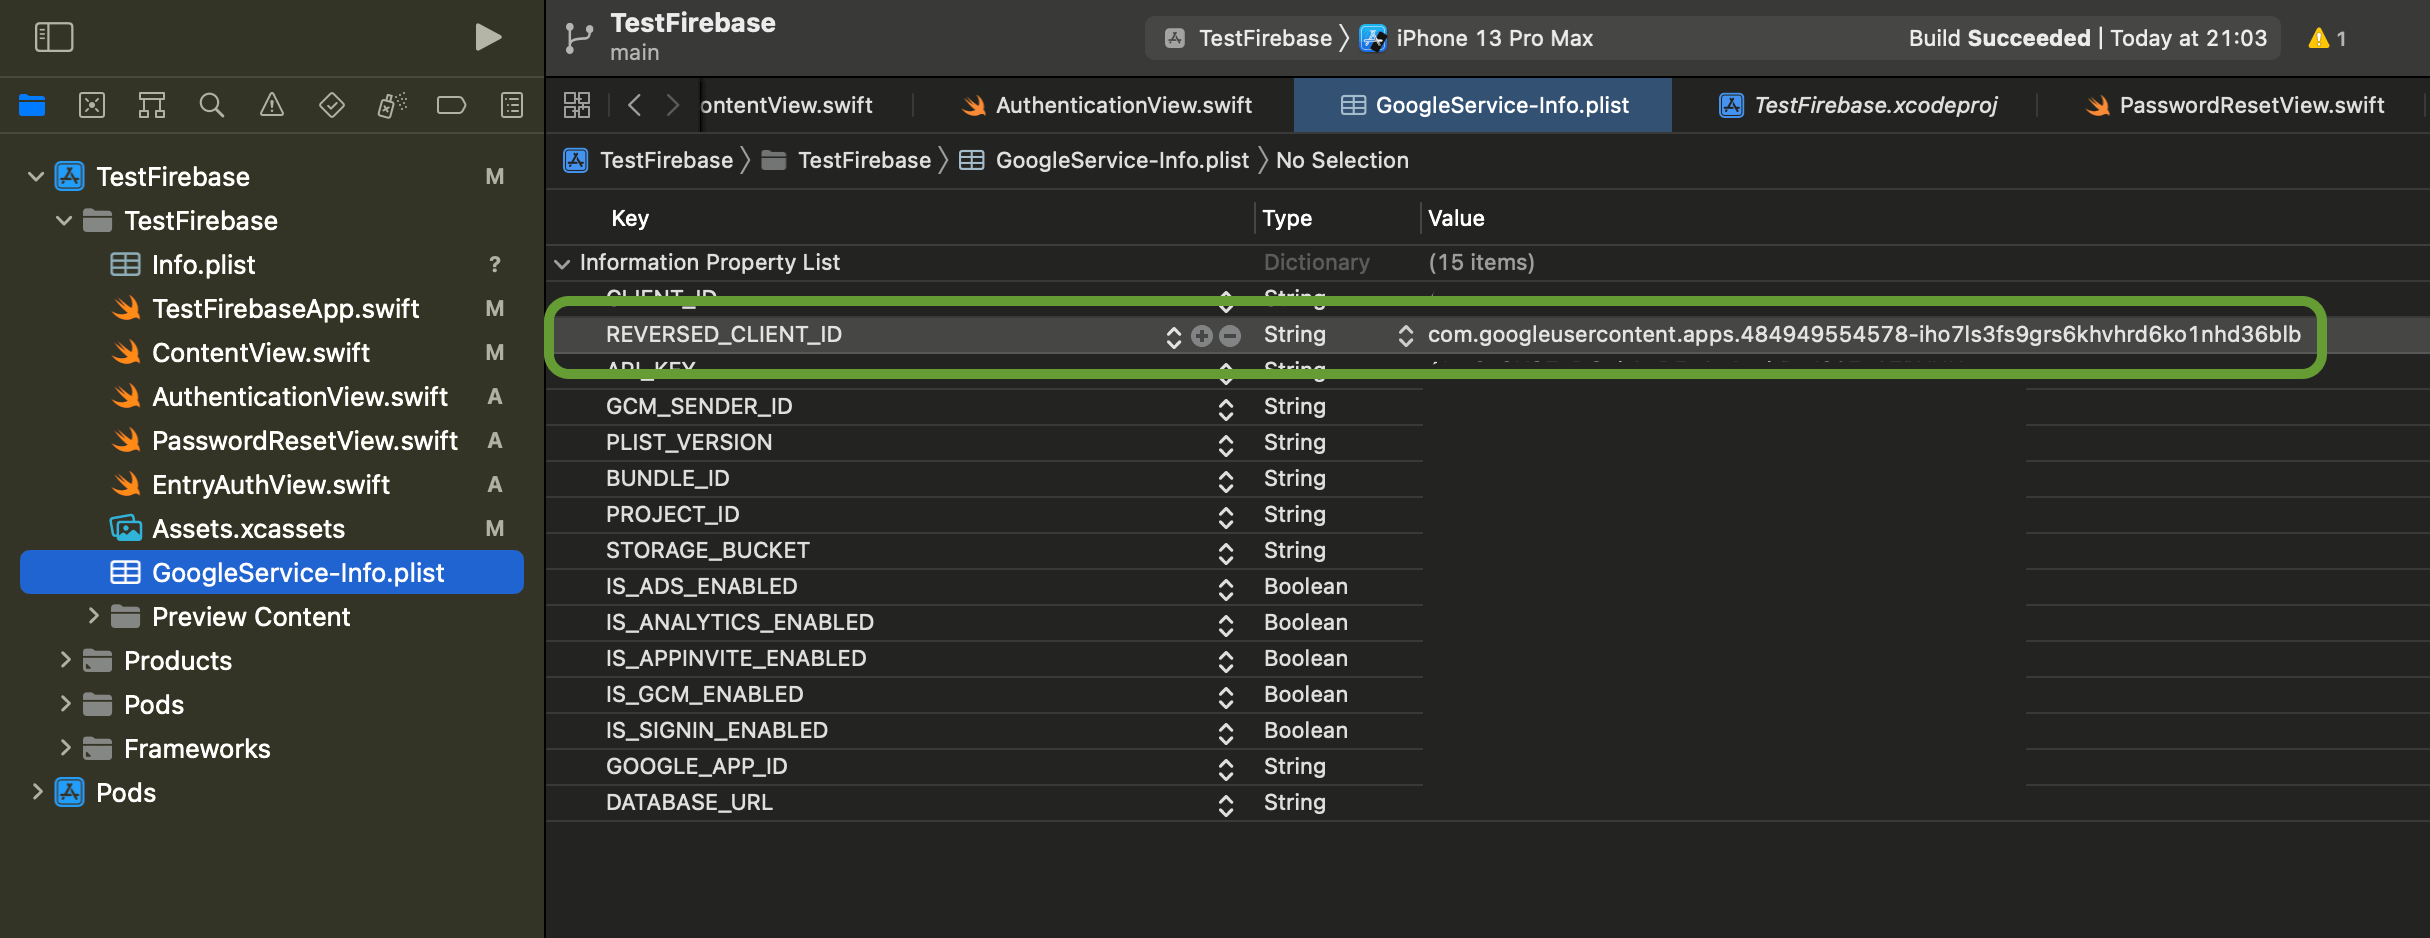
プロジェクトの「TARGETS」>「Info」>「URL Type」の「+」をクリックして「URL Schemes」にペーストします。

AppDelegateクラスへの追加
アプリのエントリポイントとなるAppDelegateクラス部分にも初期化のためのコードを記述していきます。通常のFirebaseで追記するコードとGoogleでのサインインを導入する場合はさらに2箇所追記していきます。
1つめ
import GoogleSignIn2つめ
func application(_ application: UIApplication, open url: URL, options: [UIApplication.OpenURLOptionsKey: Any]) -> Bool {
    return GIDSignIn.sharedInstance.handle(url)
}
全体
import SwiftUI
import FirebaseCore // 追加
import GoogleSignIn // 追加 ★

// 追加
class AppDelegate: NSObject, UIApplicationDelegate {
    func application(_ application: UIApplication,didFinishLaunchingWithOptions launchOptions: [UIApplication.LaunchOptionsKey : Any]? = nil) -> Bool {
        FirebaseApp.configure()
        return true
    }
    // 追加 ★
    func application(_ application: UIApplication, open url: URL, options: [UIApplication.OpenURLOptionsKey: Any]) -> Bool {
        return GIDSignIn.sharedInstance.handle(url)
    }
}

@main
struct TestFirebaseApp: App {
    // 追加
    @UIApplicationDelegateAdaptor(AppDelegate.self) var delegate
    var body: some Scene {
        WindowGroup {
            ContentView()
        }
    }
}
これで準備が整いました。続いてコードを記述していきます。
Swift UIでGoogleログインボタンを実装する
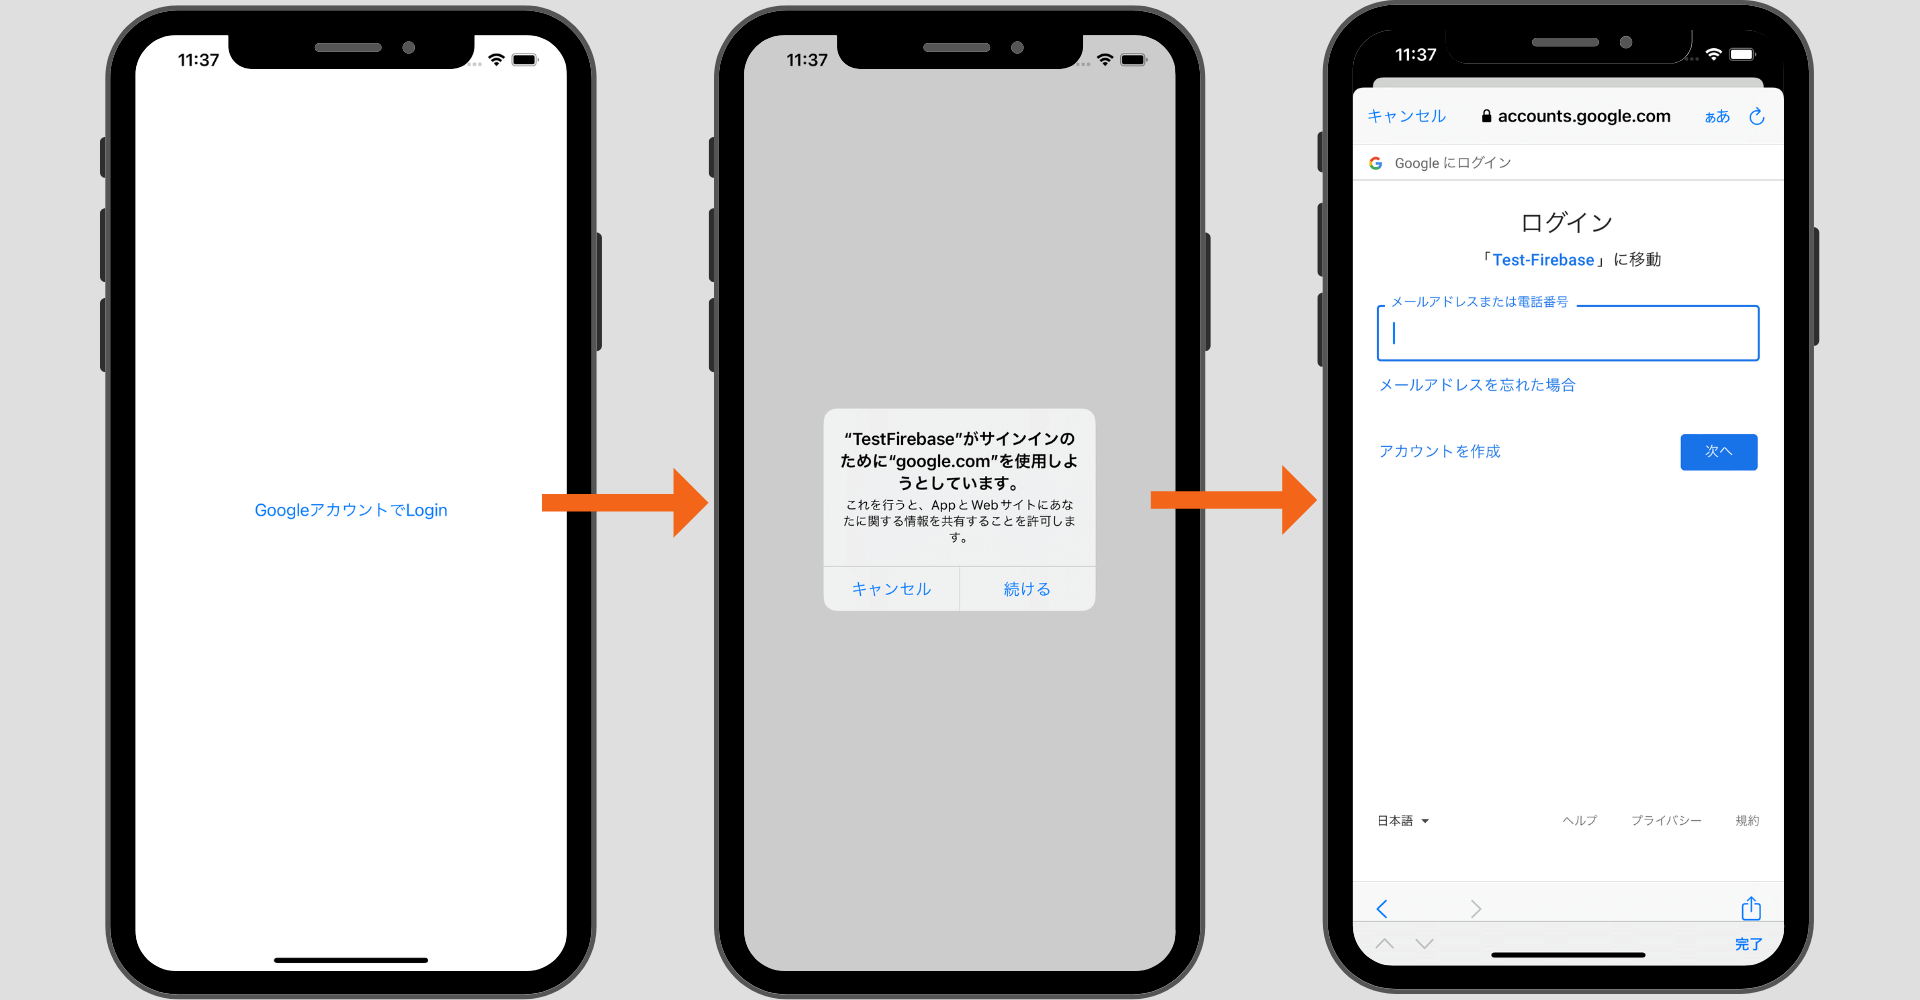
最後にGoogleアカウントでログインするためのボタンを実装します。公式ドキュメントのコードを参考にSwift UIで表示できるように改変しています。これでボタンをクリックすると以下のような遷移でログインすることが可能になります。
import SwiftUI
import FirebaseCore
import FirebaseAuth
import GoogleSignIn

struct GoogleAuthView: View {
    private func googleAuth() {

        guard let clientID:String = FirebaseApp.app()?.options.clientID else { return }
        let config:GIDConfiguration = GIDConfiguration(clientID: clientID)

        let windowScene:UIWindowScene? = UIApplication.shared.connectedScenes.first as? UIWindowScene
        let rootViewController:UIViewController? = windowScene?.windows.first!.rootViewController!

        GIDSignIn.sharedInstance.configuration = config

        GIDSignIn.sharedInstance.signIn(withPresenting: rootViewController!) { result, error in
            guard error == nil else {
                print("GIDSignInError: \(error!.localizedDescription)")
                return
            }

            guard let user = result?.user,
                  let idToken = user.idToken?.tokenString
            else {
                return
            }

            let credential = GoogleAuthProvider.credential(withIDToken: idToken,accessToken: user.accessToken.tokenString)
            self.login(credential: credential)
        }
    }

    private func login(credential: AuthCredential) {
        Auth.auth().signIn(with: credential) { (authResult, error) in
            if let error = error {
                print("SignInError: \(error.localizedDescription)")
                return
            }
        }
    }
    var body: some View {
        Button(action: {
            googleAuth()
        }, label: {
            Text("GoogleアカウントでLogin")
        })
    }
}以下は2023年3月31日に試した際にライブラリのバージョンアップにより使用不可になっていました。(signIn(with:,presenting:)は廃止されたようです。)改善したコードが上記になるのでそちらをご利用ください。
import SwiftUI
import FirebaseCore
import FirebaseAuth
import GoogleSignIn

struct GoogleAuthView: View {
    private func googleAuth() {
        guard let clientID = FirebaseApp.app()?.options.clientID else { return }
        let config = GIDConfiguration(clientID: clientID)

        let windowScene = UIApplication.shared.connectedScenes.first as? UIWindowScene
        let rootViewController = windowScene?.windows.first!.rootViewController!

        GIDSignIn.sharedInstance.signIn(with: config, presenting: rootViewController!) { user, error in
            if let error = error {
                print("GIDSignInError: \(error.localizedDescription)")
                return
            }

            guard let authentication = user?.authentication,
                  let idToken = authentication.idToken else { return }

            let credential = GoogleAuthProvider.credential(withIDToken: idToken, accessToken: authentication.accessToken)
            self.login(credential: credential)
        }
    }

    private func login(credential: AuthCredential) {
        Auth.auth().signIn(with: credential) { (authResult, error) in
            if let error = error {
                print("SignInError: \(error.localizedDescription)")
                return
            }
        }
    }
    var body: some View {
        Button(action: {
            googleAuth()
        }, label: {
            Text("GoogleアカウントでLogin")
        })
    }
}
まだまだ勉強中ですので間違っている点や至らぬ点がありましたら教えていただけると助かります。
ご覧いただきありがとうございました。