【Android Studio】LinearLayoutの使い方!Viewを縦や横並びにする方法

この記事からわかること
- Android StudioのLinearLayoutとは?
- WidgetsとLayoutsとは?
- ビューを横並び/縦並びにする方法
- layout_weight属性の使い方
index
[open]
\ アプリをリリースしました /


環境
- Android Studio:Flamingo
- Kotlin:1.8.20
LinearLayoutとは?
AndroidのLinearLayoutとはビューを縦や横並びに並べることができるLayoutsの1種です。AndroidではButtonやTextViewなどのビュー要素を「Widgets」と呼びます。そしてそのWidgetsを配置するためにLinearLayoutなどの「Layouts」があります。またWidgetsはLayoutsの中にしか配置することはできません。Androidのレイアウトファイルでは必ずルートにLayoutsのいずれかを指定する必要があります。
LinearLayoutは「リニアレイアウト」と読み、翻訳すると「直線的なレイアウト」といった意味になります。名前からも分かる通り、直線方向(垂直または水平)での配置を得意としています。
横並び/縦並びに配置する
LinearLayoutを使用してWidgetsを横並びに配置してみます。レイアウトファイルを開き、左上から「LinearLayout」を検索しLinearLayout(horizontal)を画面に追加し、さらにButtonを3つそのまま追加してみます。
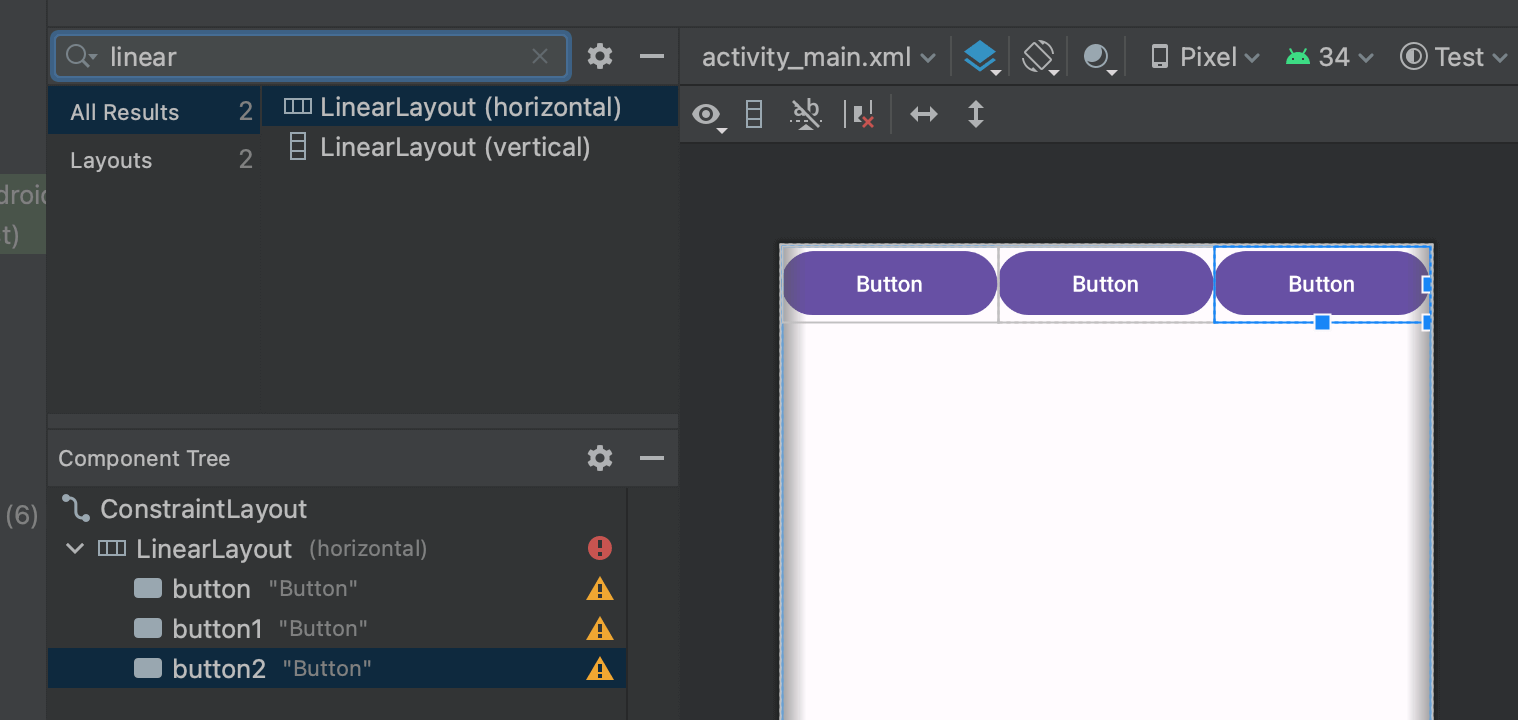
するとボタンは水平方向に配置され、自動的に画面いっぱいの大きさを3分割するように広がってくれます。コードで見てみると以下のようになります。
<LinearLayout
    android:layout_width="409dp"
    android:layout_height="729dp"
    android:orientation="horizontal"
    tools:layout_editor_absoluteX="1dp"
    tools:layout_editor_absoluteY="1dp">

    <Button
        android:id="@+id/button"
        android:layout_width="wrap_content"
        android:layout_height="wrap_content"
        android:layout_weight="1"
        android:text="Button" />

    <Button
        android:id="@+id/button1"
        android:layout_width="wrap_content"
        android:layout_height="wrap_content"
        android:layout_weight="1"
        android:text="Button" />

    <Button
        android:id="@+id/button2"
        android:layout_width="wrap_content"
        android:layout_height="wrap_content"
        android:layout_weight="1"
        android:text="Button" />
</LinearLayout>android:orientation属性がLinearLayoutの並べる方向を指定している部分になります。なのでhorizontalをverticalに変更すれば縦並び(垂直)に変化します。
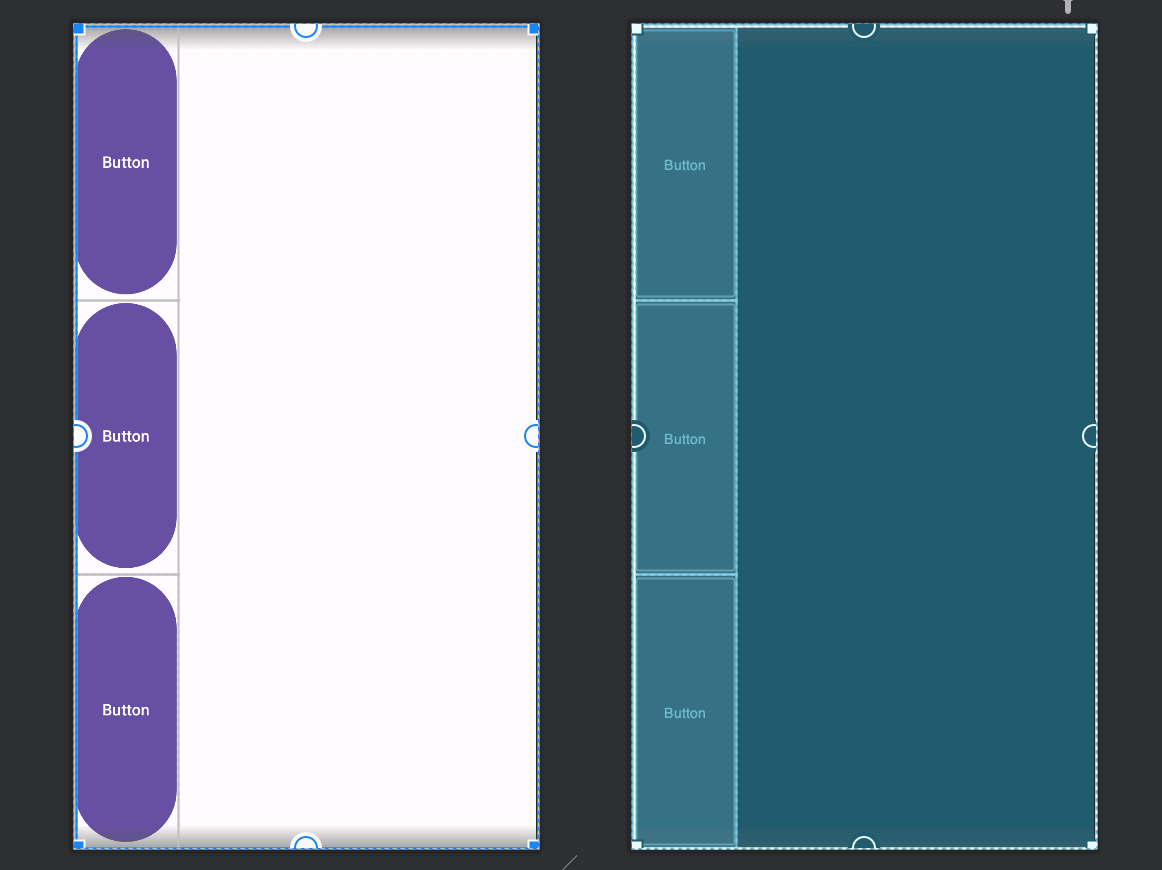
またLinearLayout自体の大きさは中のWidgetsの大きさに依存します。横並びの場合は一番高い要素の高さに、縦並びの場合は一番長い要素の長さに自動で変化します。なので縦並び(垂直)にするボタンの長さをはそのままに縦を画面いっぱいに広げようとするので以下のようになってしまいます。
Widgetsの大きさをコントロールする(layout_weight)
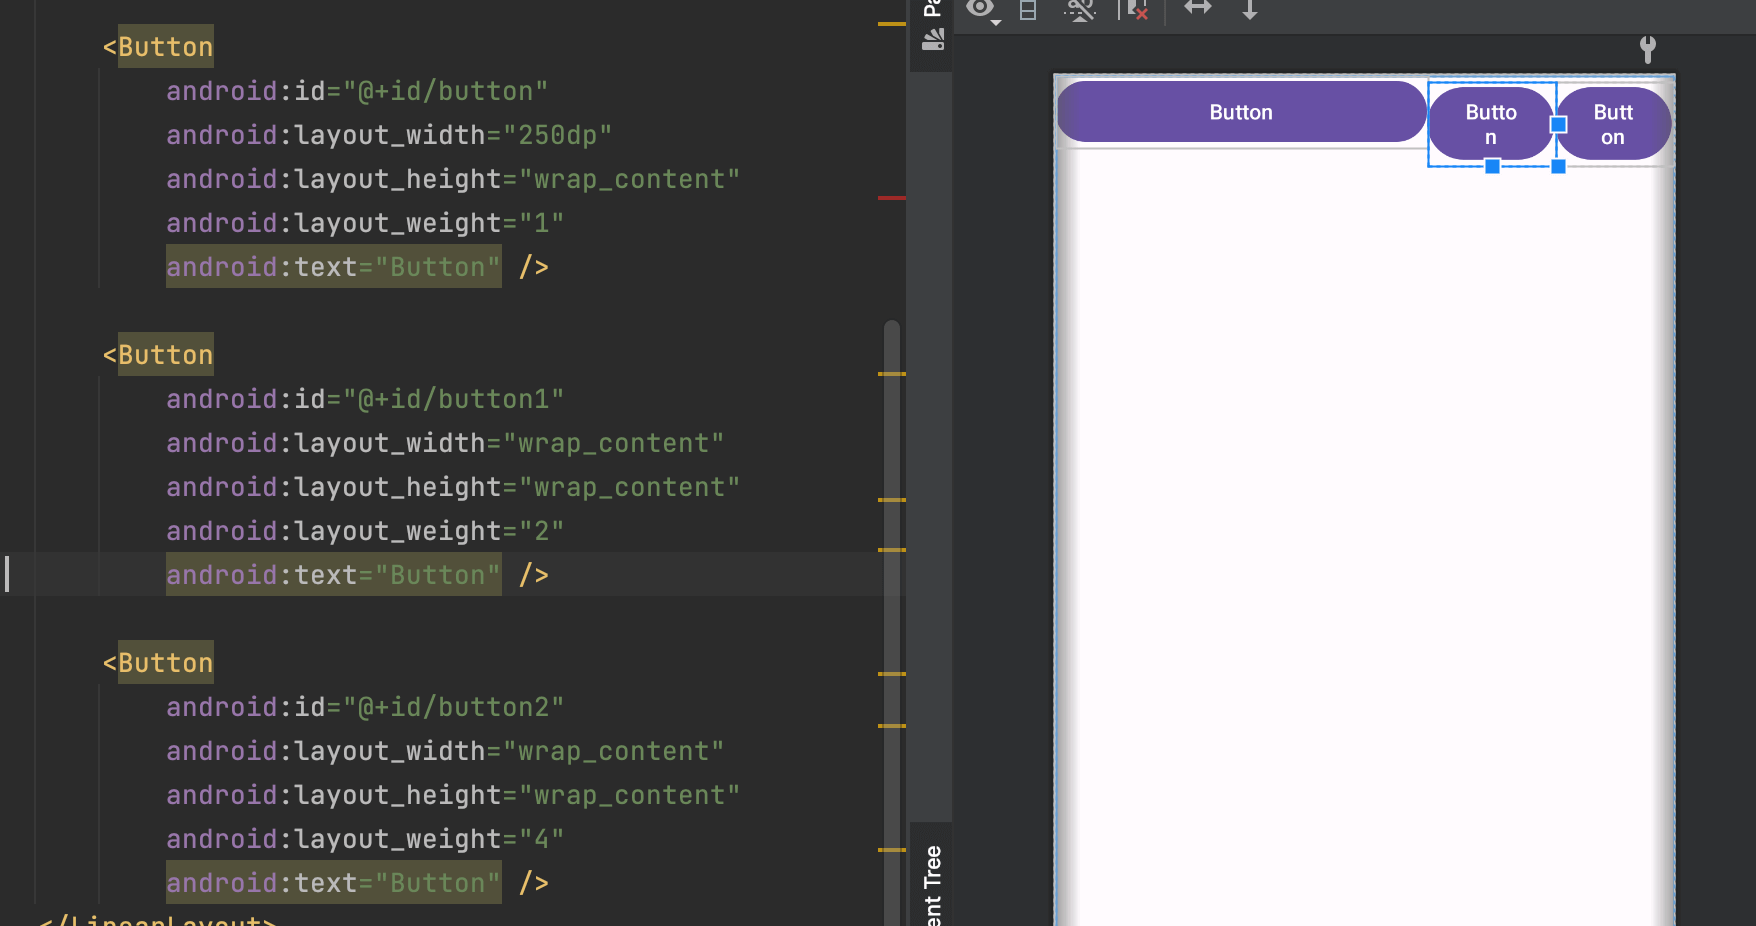
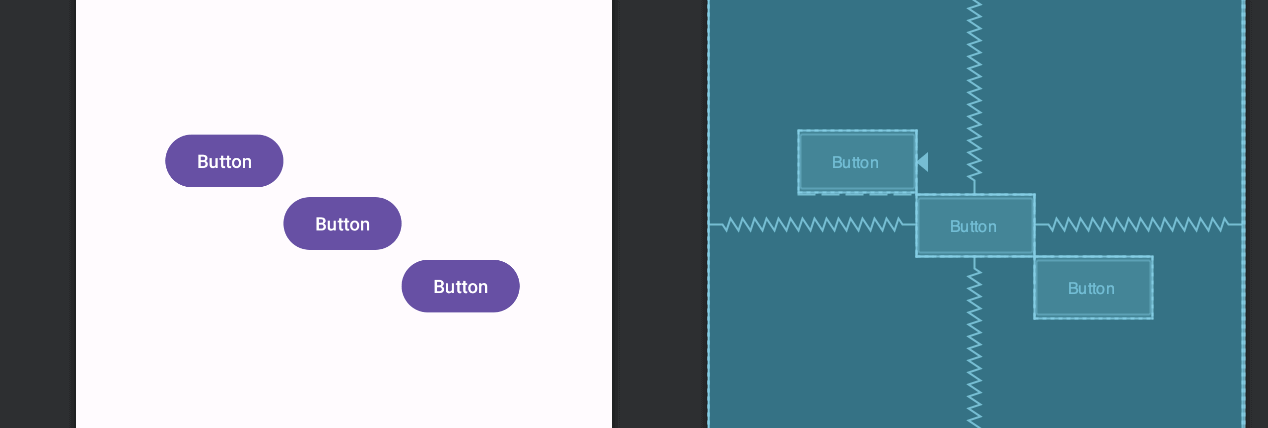
LinearLayoutはlayout_weight属性で指定された値がそのWidgetsが画面上で占めるスペースの値になります。言葉では分かりにくいので実際に見てみます。以下はそれぞれlayout_weightを1、2、4で指定した場合の配置です。

<Button
    android:id="@+id/button"
    android:layout_width="wrap_content"
    android:layout_height="wrap_content"
    android:layout_weight="1"
    android:text="Button" />

<Button
    android:id="@+id/button1"
    android:layout_width="wrap_content"
    android:layout_height="wrap_content"
    android:layout_weight="2"
    android:text="Button" />

<Button
    android:id="@+id/button2"
    android:layout_width="wrap_content"
    android:layout_height="wrap_content"
    android:layout_weight="4"
android:text="Button" />しかしlayout_weightは横並びならlayout_widthが縦並びならlayout_heightに0やwrap_contentなどが指定されている場合に適応されます。明示的にサイズを指定した場合はそのサイズが優先されるため配置が崩れてしまいます。
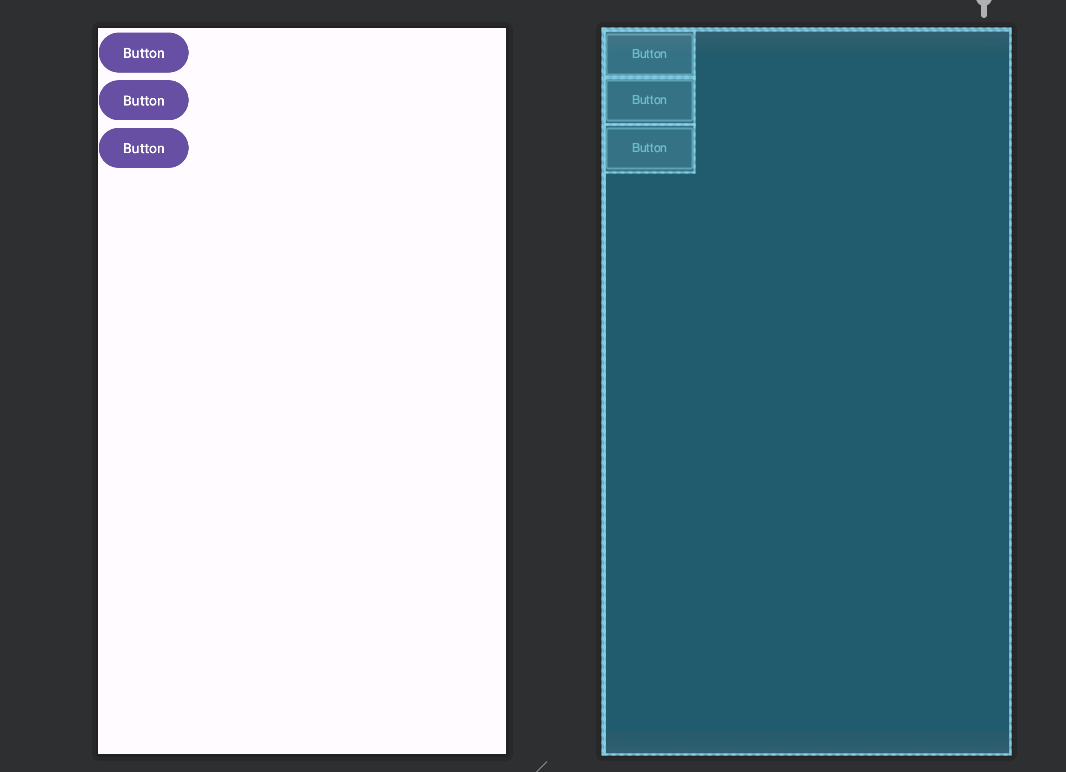
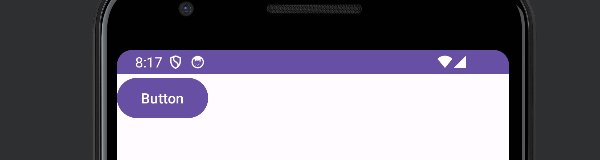
またandroid:layout_weightを明示的に指定しない場合はそのWidgets自体のサイズは引き延ばされずandroid:layout_weightを指定したWidgetsのみが画面いっぱいになるように引き延ばされます。
正規の大きさで綺麗に並べる方法
Widgetsのサイズを引き伸ばされたくないけど横並びや縦並びにしたい場合はSpaceを使用すると、Widgetsのサイズより不要な部分を埋めてくれるので綺麗に揃って配置することが可能です。
<Button
    android:id="@+id/button"
    android:layout_width="wrap_content"
    android:layout_height="wrap_content"
    android:text="Button" />

<Button
    android:id="@+id/button1"
    android:layout_width="wrap_content"
    android:layout_height="wrap_content"
    android:text="Button" />

<Button
    android:id="@+id/button2"
    android:layout_width="wrap_content"
    android:layout_height="wrap_content"
    android:text="Button" />

<Space
    android:layout_width="wrap_content"
    android:layout_height="wrap_content"
    android:layout_weight="1"
    />
gravityやlayout_gravityで配置する
android:gravityとandroid:layout_gravity属性を使用しても要素を配置することが可能です。
<LinearLayout
    android:id="@+id/linearLayout"
    android:layout_width="match_parent"
    android:layout_height="wrap_content"
    android:gravity="center"
    android:orientation="horizontal"
    app:layout_constraintBottom_toBottomOf="parent"
    app:layout_constraintEnd_toEndOf="parent"
    app:layout_constraintStart_toStartOf="parent"
    app:layout_constraintTop_toTopOf="parent">

    <TextView
        android:id="@+id/button1"
        android:layout_width="100dp"
        android:layout_height="50dp"
        android:gravity="center"
        android:background="@color/black"
        android:text="Hello"
        android:textAlignment="center"
        android:textColor="@color/white" />

    <TextView
        android:id="@+id/button2"
        android:layout_width="100dp"
        android:layout_height="50dp"
        android:gravity="center"
        android:background="@color/black"
        android:text="World"
        android:textColor="@color/white" />

    <TextView
        android:id="@+id/button3"
        android:layout_width="100dp"
        android:layout_height="50dp"
        android:gravity="center"
        android:background="@color/black"
        android:text="!!"
        android:textColor="@color/white" />
</LinearLayout>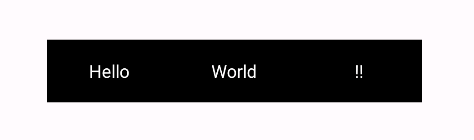
またgravityを使用することでTextViewのテキストの配置をコントロールすることも可能です。
相対的に配置する
Widgetsを相対的に配置したい場合はRelativeLayoutを使用することで簡単に実装できます。
制約的に配置する
Widgetsを制約的に配置したい場合はConstraintLayoutを使用することで簡単に実装できます。
まだまだ勉強中ですので間違っている点や至らぬ点がありましたら教えていただけると助かります。
ご覧いただきありがとうございました。