【Swift UI/Firebase】AuthenticationでSign in with Appleでログインを実装する方法
この記事からわかること
- Swift/Firebaseで作成したiOSアプリにAuthenticationを導入する方法
- Appleアカウント(Sign in with Apple)でログインできるようにする方法
- Swift UIの実装方法
- nonceナンスやSHA-256の使用方法
- OAuthProvidervを使ったクレデンシャルの構築
index
[open]
\ アプリをリリースしました /


今回はFirebase Authenticationでログイン機能を実装する際に、Apple IDでログインできるようにする方法をまとめていきます。
FirebaseのAuthenticationの概要や登録方法については下記記事を参考にしてください。
Sign in with Appleとは?
Firebase AuthenticationでApple IDのログイン機能を実装するにはAppleが提供している「Sign in with Apple」という仕組みを活用する必要があります。
「Sign in with Apple」はApple IDをそのまま使用してログインできる機能で指紋認証(Touch ID)や顔認証(Face ID)などを使った認証が行えるようになります。
Sign in with Apple自体の概要や実装方法は以下の記事を参考にしてください。
Swift UI×AuthenticationでApple IDでログインする方法
今回はSwift UIを使用している場合にApple IDでログインする方法をまとめていきます。
- FirebaseプロジェクトにAppleプロバイダを追加
- Developer siteでSign in with Appleを有効にする
- Xcode側でSign in with Appleを追加
- AuthenticationServicesフレームワークを使って実装
- Authentication用に編集
この手順の2.3.4は「Sign in with Apple」を実装する手順です。1と5以降がAuthenticationと連携する作業になります。
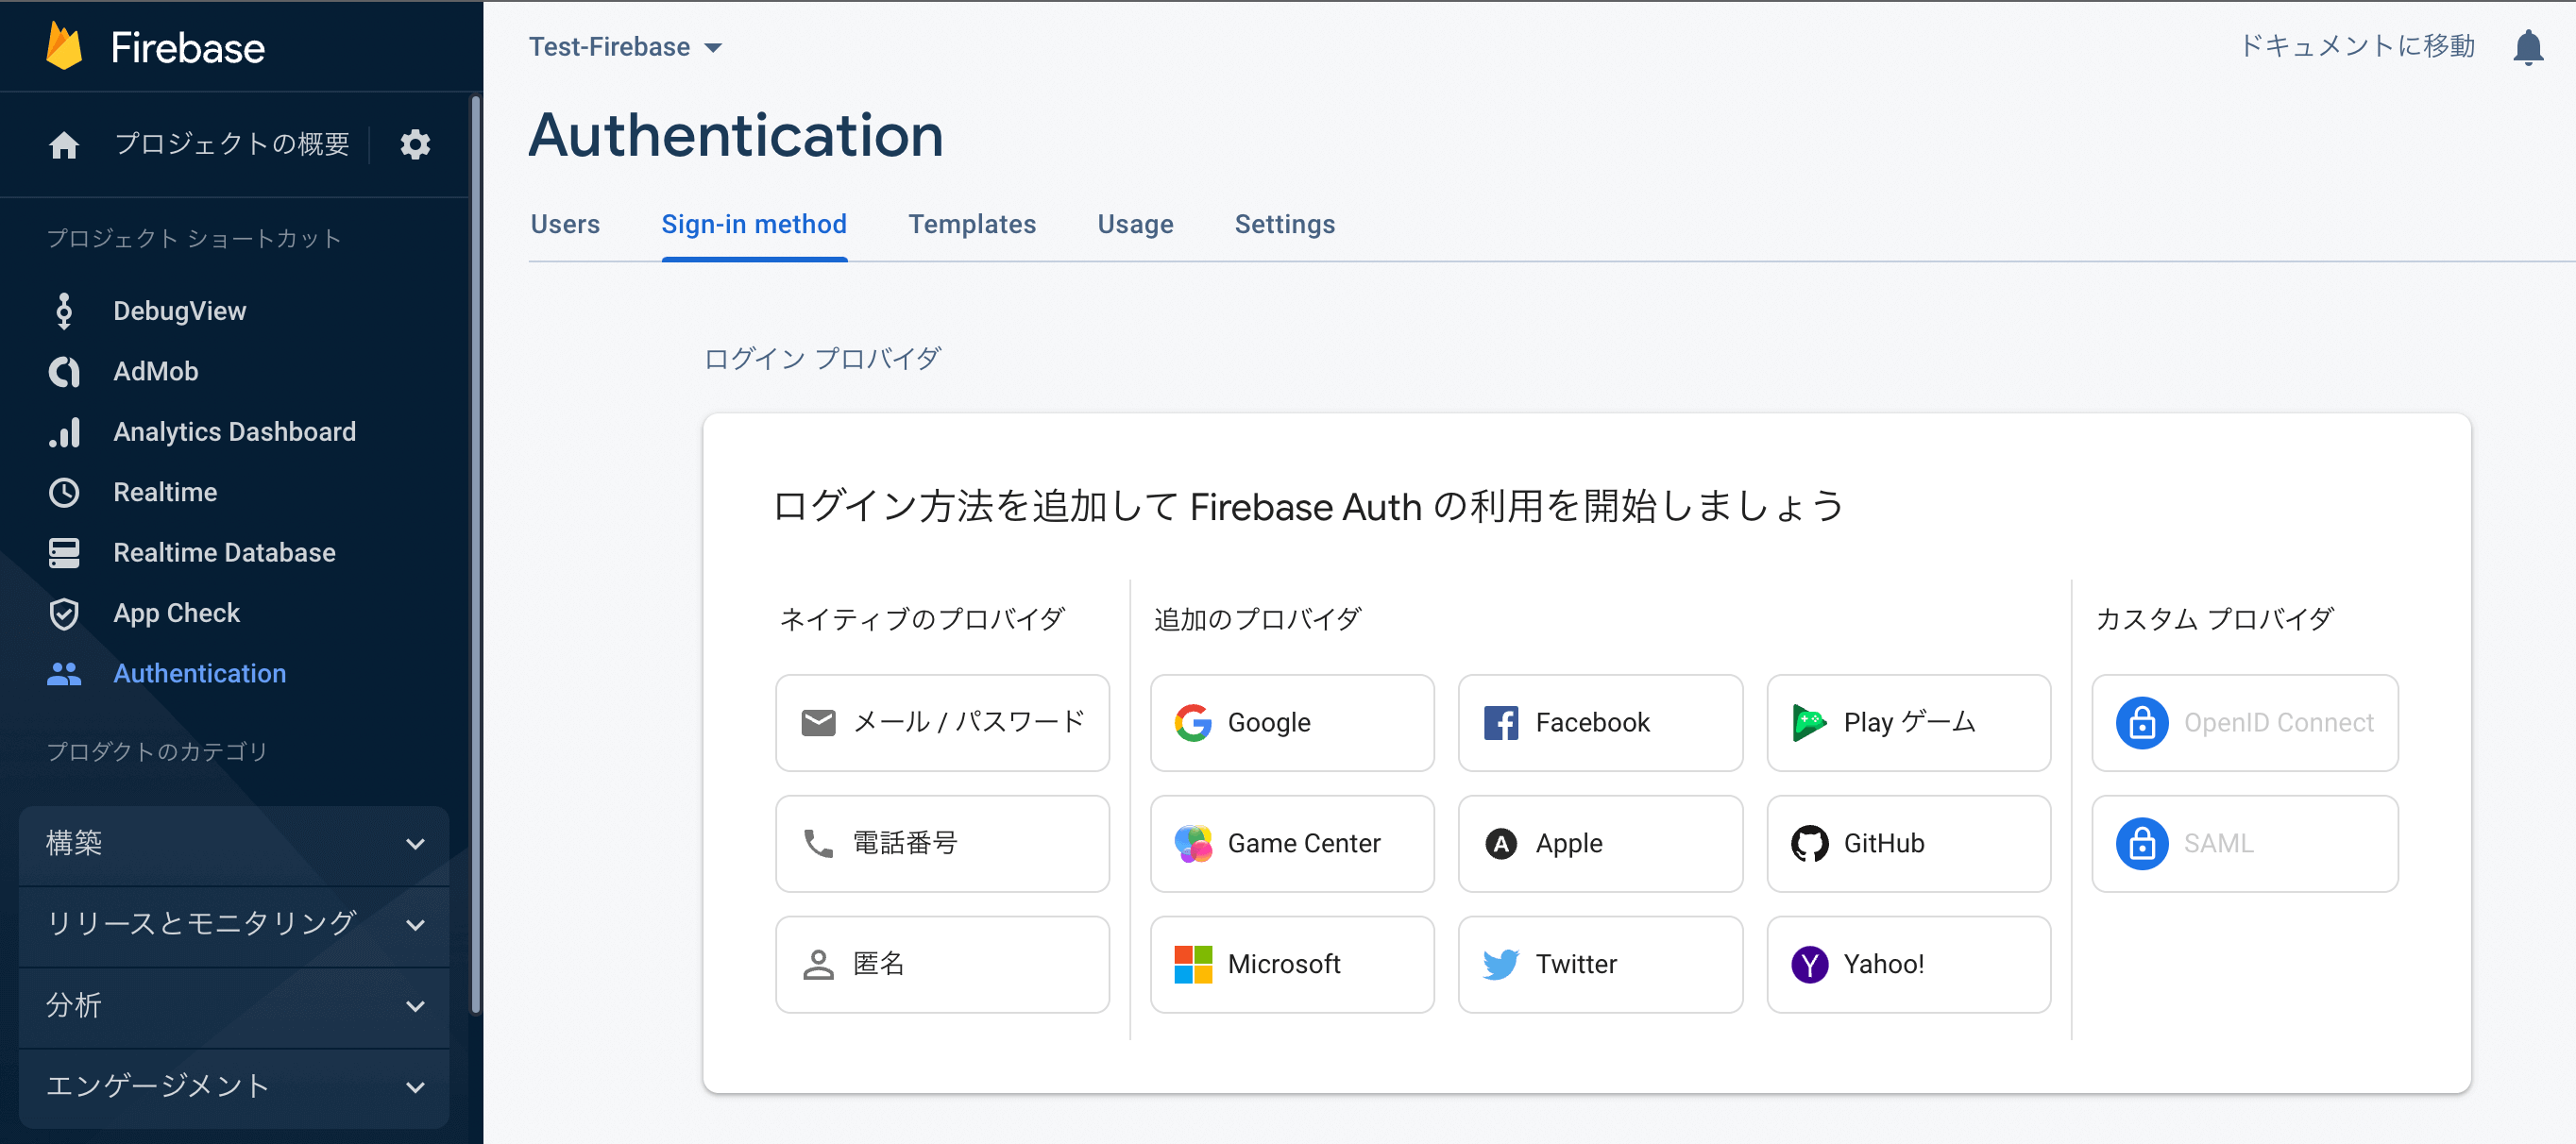
FirebaseプロジェクトにAppleプロバイダを追加
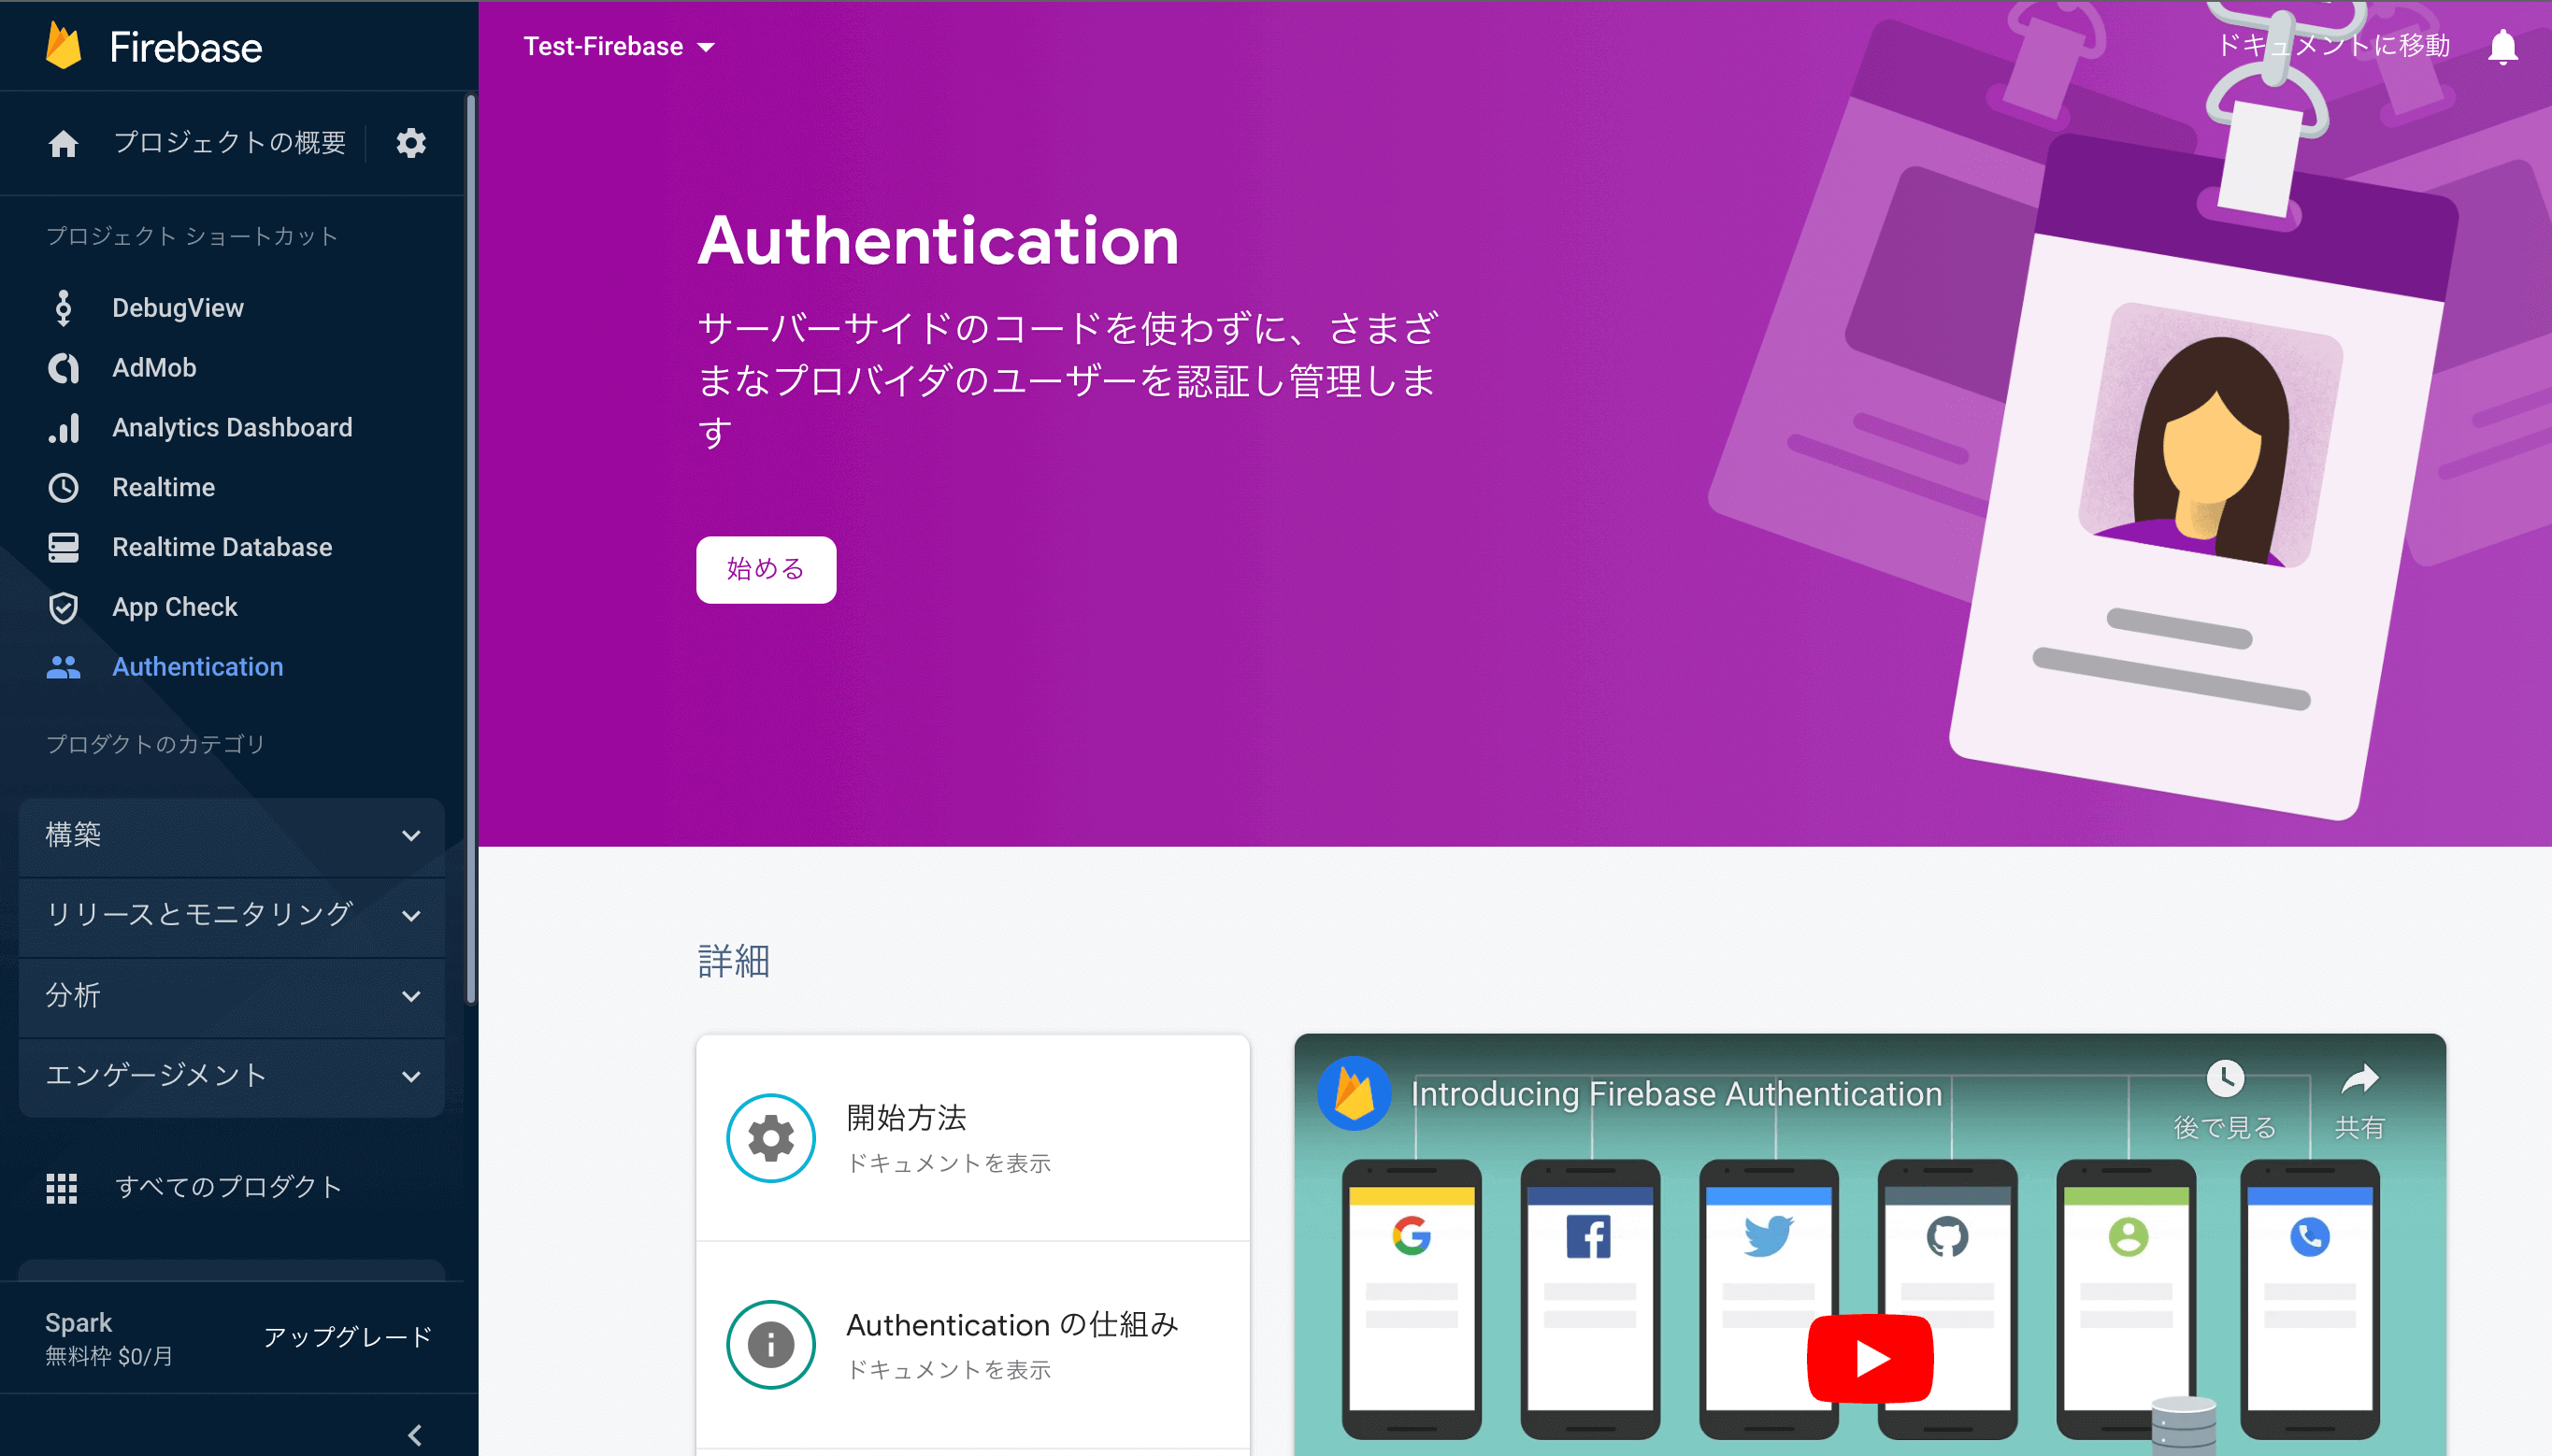
コンソールにログインしてFirebase Authenticationの「始める」をクリックし、認証するログインプロバイダの「Apple」を選択し「有効にする」にチェックを入れておきます。他は空白のままでOKです。
これでプロジェクトの準備が整ったのでプロジェクトにiOSアプリを追加しておいてください。iOSアプリを追加する詳細な流れは以下の記事を参考にしてください。
【Swift/Xcode】Firebaseの導入方法!iOSアプリでの使い方
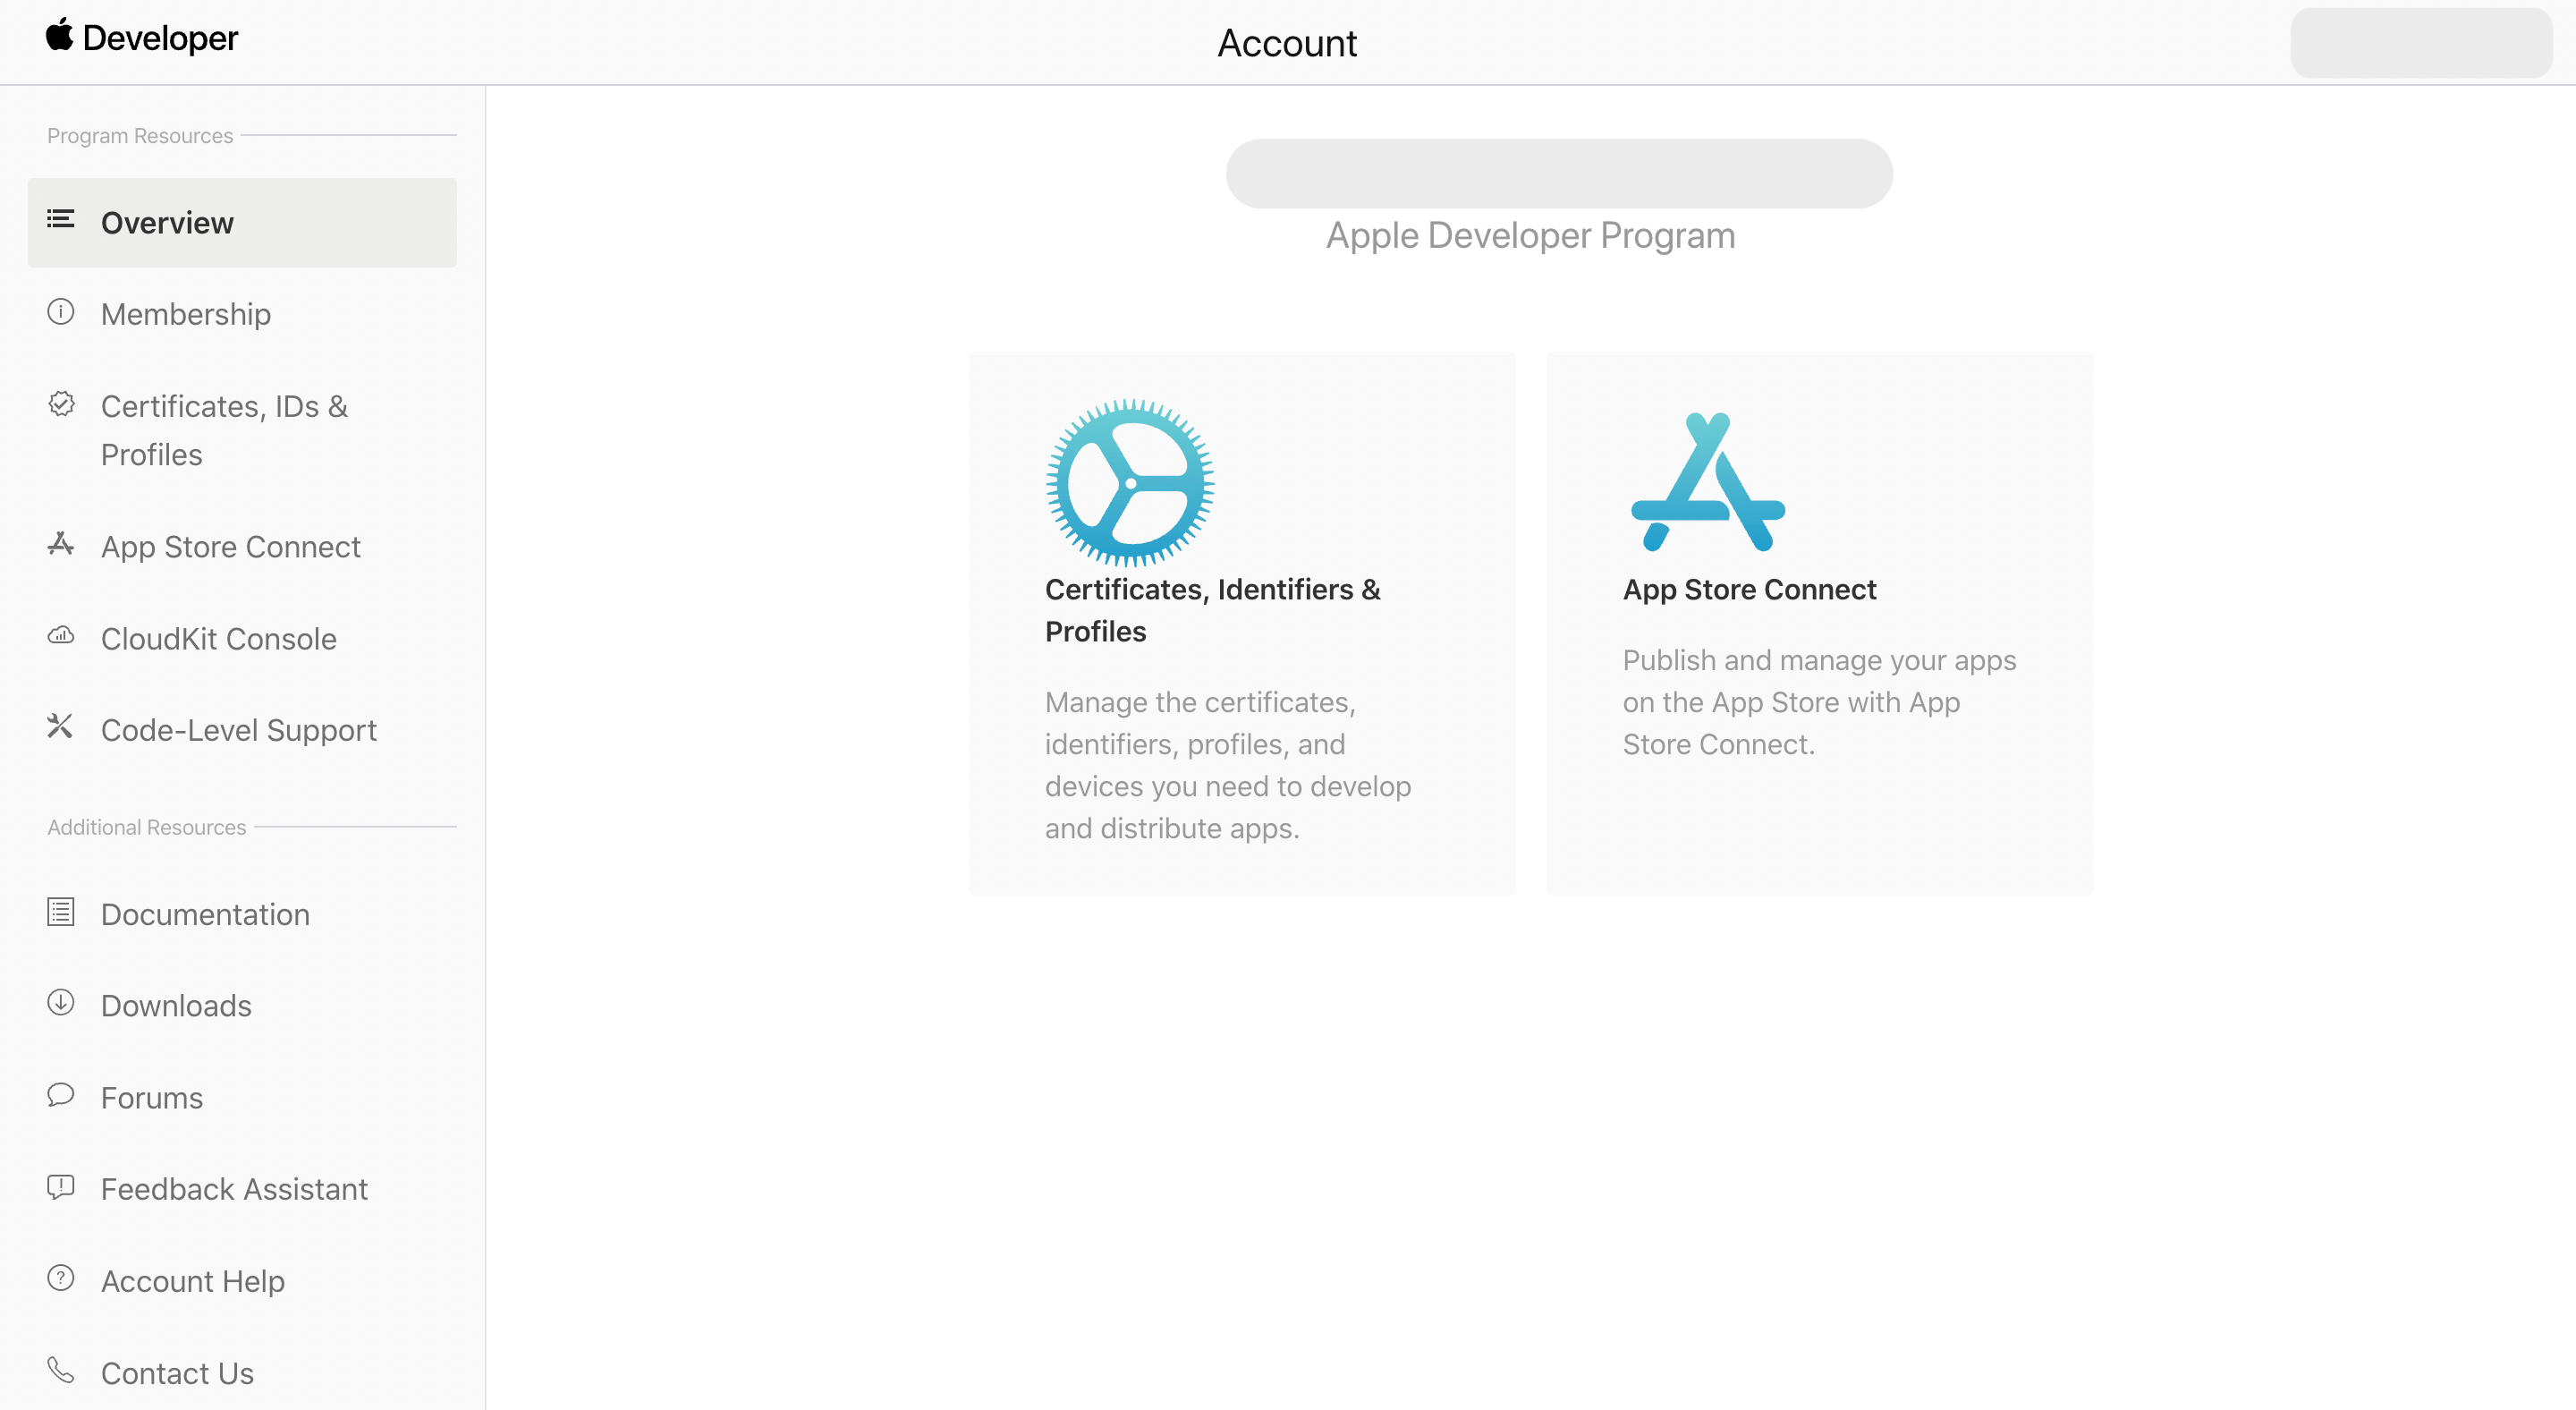
Developer siteでSign in with Appleを有効にする
ここは「Sign in with Apple」自体を実装する手順になります。
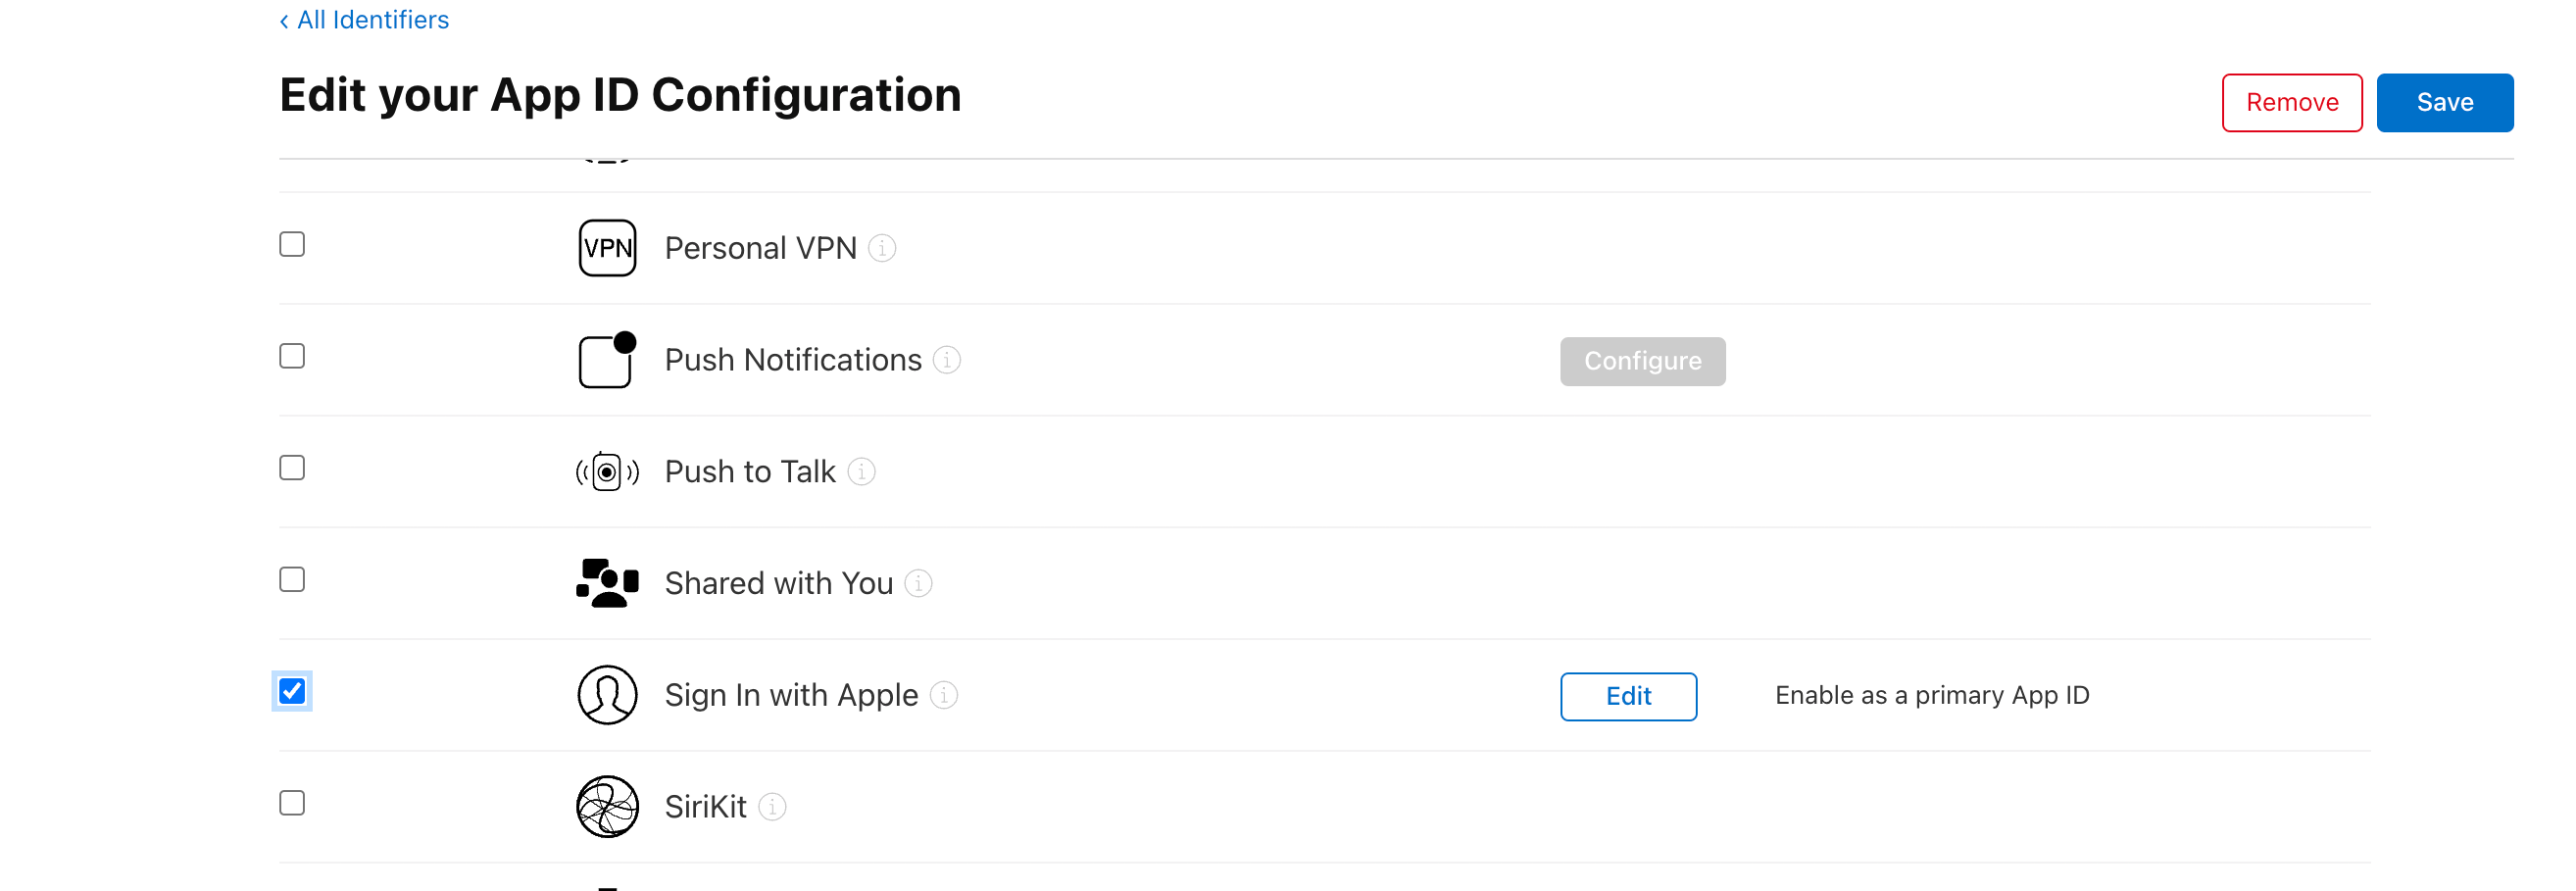
まずは「Apple Developer site」にアクセスして使用したいApp IDでSign in with Appleを有効にして作成しておきます。既に生成済みであれば「Certificates, IDs & Profiles」から対象のApp IDを編集していきます。
有効にするにはチェックを入れるだけです。
Xcode側でSign in with Appleを追加
続いてXcode側で「Signing & Capability」タブの 「 + 」ボタンをクリックして「Sign in with Apple」を追加します。
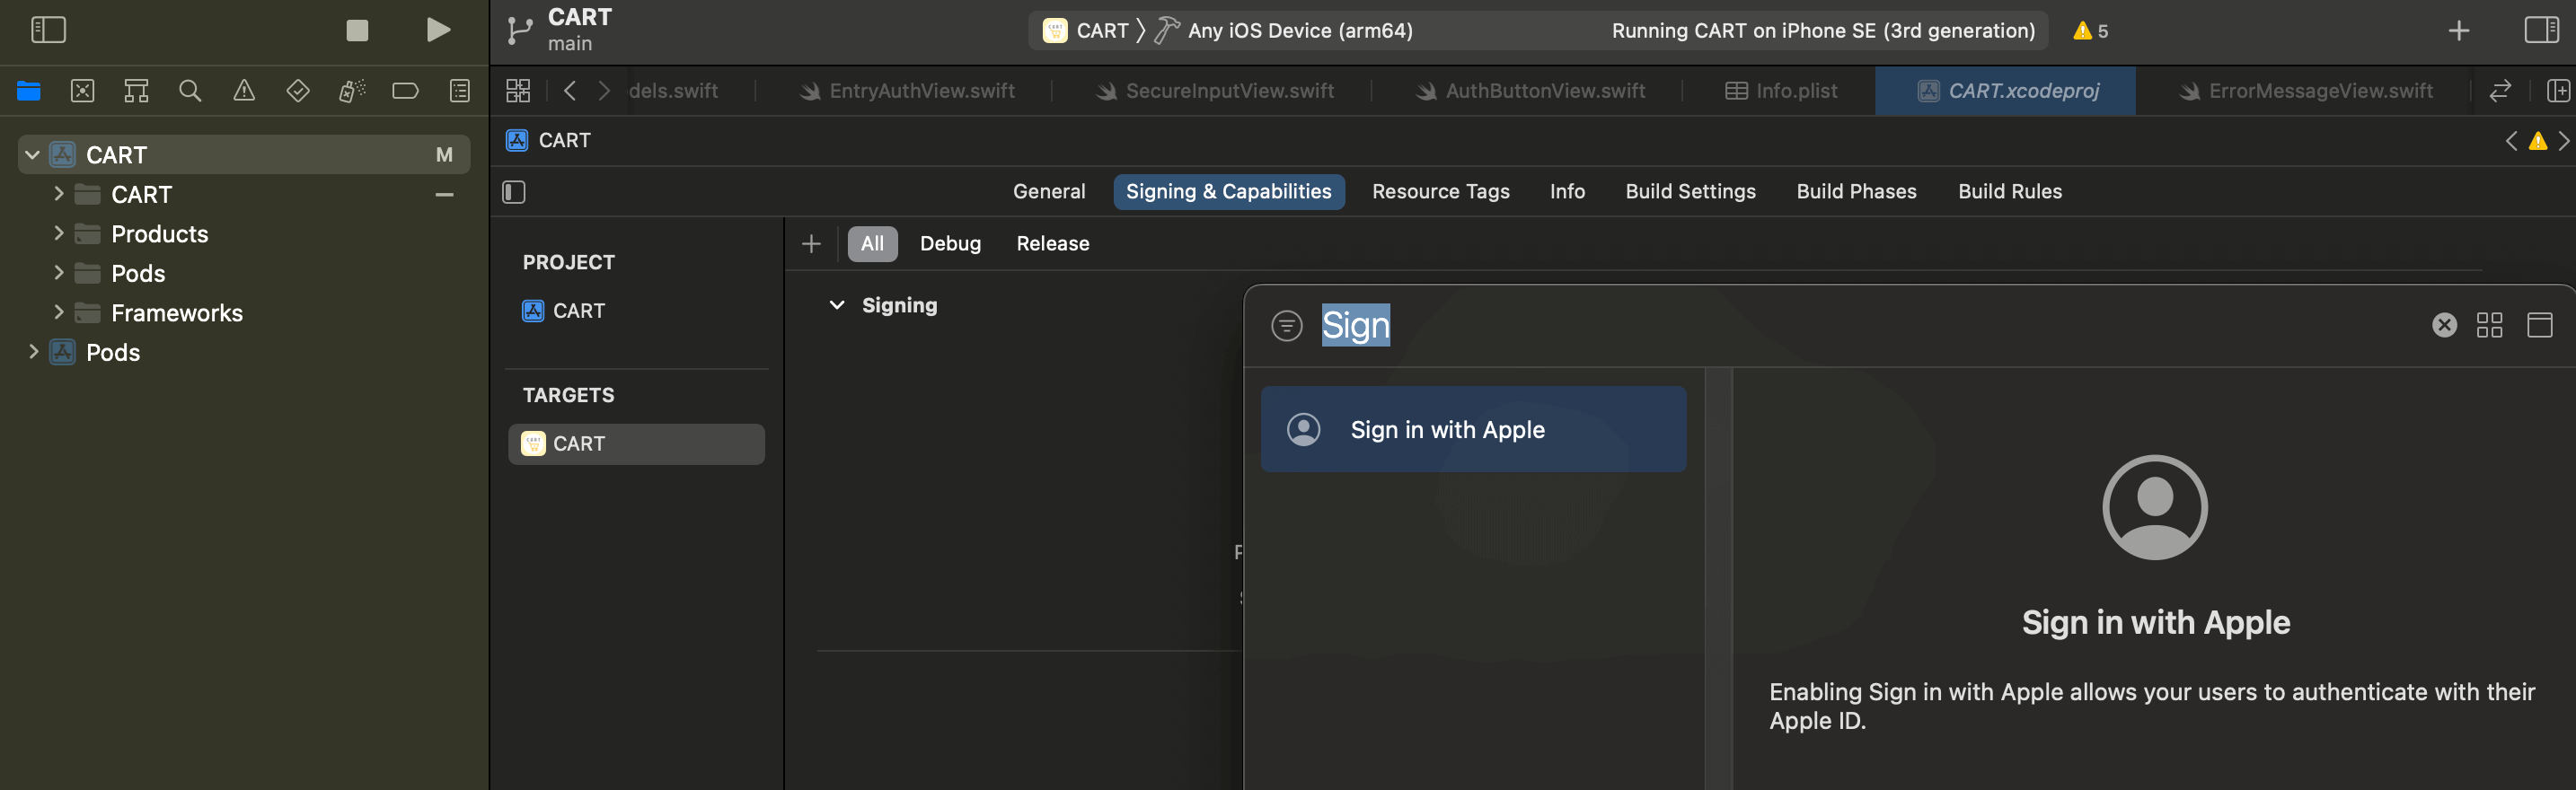
これでXcode側の作業も完了です。
AuthenticationServicesフレームワーク
Sign in with Appleの実装はAuthenticationServicesフレームワークとして提供されています。まずは普通にSign in with Appleを実装し、その後にAuthenticationと連携させていきます。
ここでは細かい実装方法は解説しないので以下の記事を参考にしてください。
import SwiftUI
import FirebaseAuth
import AuthenticationServices
struct AppleAuthView: View {
@Environment(\.colorScheme) var colorScheme
var isDarkMode: Bool { colorScheme == .dark }
var body: some View {
VStack {
SignInWithAppleButton(.signIn) { request in
request.requestedScopes = [.fullName, .email]
} onCompletion: { authResults in
switch authResults {
case .success(let authResults):
print("完了")
break
case .failure(let error):
print(error.localizedDescription)
}
}
.signInWithAppleButtonStyle(isDarkMode ? .white : .black)
.frame(width: 224, height: 40)
}
}
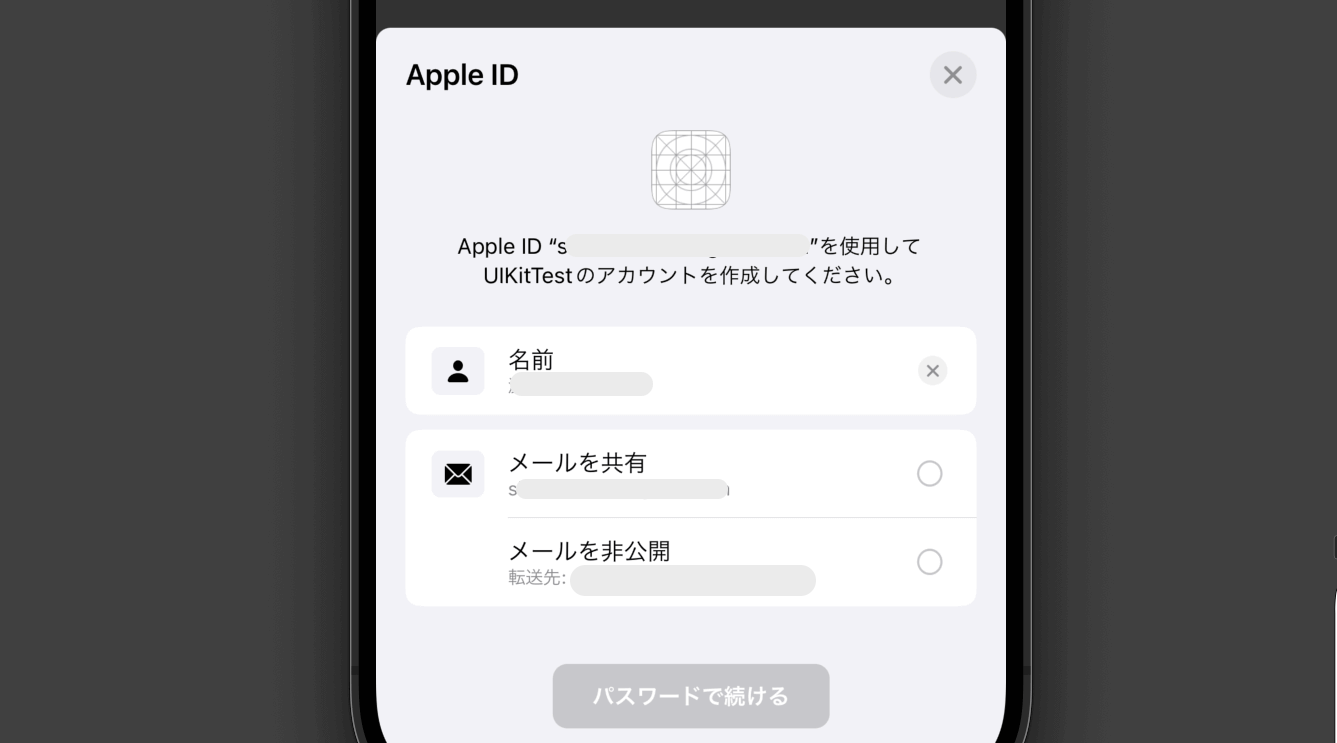
}これでサインインボタンが実装されクリックすると以下のようにApple IDを使用して認証することが可能になります。
Authentication用に編集
ここからはAuthentication用に実装コードを編集していきます。まずはやるべきことを整理します。
- リプレイ攻撃対策のnonce(ナンス)を生成
- ナンスをSHA-256でハッシュ
- リクエスト情報に付与
- success時にクレデンシャルを構築
- クレデンシャルを使ってログインなど
リプレイ攻撃対策のnonce(ナンス)を生成
- リプレイ攻撃:ログイン情報を盗聴して再利用するサイバー攻撃
- nonce(ナンス):認証に使われるランダムな値(ノンスとも呼ぶ)
安全に認証機能を実装するためにサインインリクエストに対してトークン(ナンス)を生成し発行したトークンとレスポンスのトークンを比較することで検証します。
まずはそのためにナンスを生成して返却するメソッド(randomNonceString)を用意します。
// MARK: - Firebase用
private func randomNonceString(length: Int = 32) -> String {
    precondition(length > 0)
    let charset: [Character] =
    Array("0123456789ABCDEFGHIJKLMNOPQRSTUVXYZabcdefghijklmnopqrstuvwxyz-._")
    var result = ""
    var remainingLength = length

    while remainingLength > 0 {
        let randoms: [UInt8] = (0 ..< 16).map { _ in
            var random: UInt8 = 0
            let errorCode = SecRandomCopyBytes(kSecRandomDefault, 1, &random)
            if errorCode != errSecSuccess {
                fatalError(
                    "Unable to generate nonce. SecRandomCopyBytes failed with OSStatus \(errorCode)"
                )
            }
            return random
        }

        randoms.forEach { random in
            if remainingLength == 0 {
                return
            }

            if random < charset.count {
                result.append(charset[Int(random)])
                remainingLength -= 1
            }
        }
    }

    return result
}
ナンスをSHA-256でハッシュ
- SHA-256:固定長(256ビット)のハッシュ値を算出するハッシュ関数
続いて生成したナンスをハッシュ関数を使って暗号化します。SwiftではCryptoKitフレームワークの中にSHA256構造体として用意されているでの組み込んでおきます。
import CryptoKit続いて渡されたナンスをハッシュ化して返却するメソッド(sha256)を定義しておきます。
// MARK: - Firebase用
@available(iOS 13, *)
private func sha256(_ input: String) -> String {
    let inputData = Data(input.utf8)
    let hashedData = SHA256.hash(data: inputData)
    let hashString = hashedData.compactMap {
        String(format: "%02x", $0)
    }.joined()

    return hashString
}
リクエスト情報に付与
定義したメソッドはSignInWithAppleButtonのリクエストに付与します。その前にcurrentNonceプロパティを追加しておきます。
// MARK: - Firebase用
@State var currentNonce:String?生成したリクエストのプロパティと先ほど定義したプロパティにナンスを渡します。
SignInWithAppleButton(displayButtonTitle) { request in

    // MARK: - Request
    request.requestedScopes = [.email,.fullName]
    let nonce = randomNonceString()
    currentNonce = nonce
    request.nonce = sha256(nonce)

} onCompletion: { result in
success時にクレデンシャルを構築
- クレデンシャル情報:認証情報のこと
最後にresultがsuccess時になっている場合にそれぞれちゃんと値が入っているかを確認しながらサインインに必要なクレデンシャル情報を構築します。Apple IDはOAuthProviderクラスのcredentialメソッドに"apple.com"とレスポンスにあるトークン、プロパティに格納済みのナンスを渡して構築できます。
} onCompletion: { result in
  switch result {
      // MARK: - Result

  case .success(let authResults):
      let appleIDCredential = authResults.credential as? ASAuthorizationAppleIDCredential

      guard let nonce = currentNonce else {
        // 無効な状態: ログインコールバックは受信されましたが、ログインリクエストは送信されませんでした。
          fatalError("Invalid state: A login callback was received, but no login request was sent.")
          return
      }
      guard let appleIDToken = appleIDCredential?.identityToken else {
        // 無効な状態: ログインコールバックは受信されましたが、ログインリクエストは送信されませんでした。
          fatalError("Invalid state: A login callback was received, but no login request was sent.")
          return
      }
      guard let idTokenString = String(data: appleIDToken, encoding: .utf8) else {
        // データからトークン文字列をシリアル化できません:
          print("Unable to serialize token string from data: \(appleIDToken.debugDescription)")
          return
      }

      let credential = OAuthProvider.credential(withProviderID: "apple.com",idToken: idTokenString,rawNonce: nonce)
      Auth.auth().signIn(with: credential) { result, error in
          if result?.user != nil{
              print("ログイン")
          }
      }

  case .failure(let error):
      print("Authentication failed: \(error.localizedDescription)")
      break
  }
}
これでFirebase AuthenticationにAppleアカウントでのログインをSwift UIを使って実装することができました。
全体のコード
import SwiftUI
import CryptoKit
import FirebaseAuth
import AuthenticationServices

struct AppleAuthView: View {

    @Environment(\.colorScheme) var colorScheme
    var isDarkMode: Bool { colorScheme == .dark }


    // MARK: - Firebase用
    private func randomNonceString(length: Int = 32) -> String {
        precondition(length > 0)
        let charset: [Character] =
        Array("0123456789ABCDEFGHIJKLMNOPQRSTUVXYZabcdefghijklmnopqrstuvwxyz-._")
        var result = ""
        var remainingLength = length

        while remainingLength > 0 {
            let randoms: [UInt8] = (0 ..< 16).map { _ in
                var random: UInt8 = 0
                let errorCode = SecRandomCopyBytes(kSecRandomDefault, 1, &random)
                if errorCode != errSecSuccess {
                    fatalError(
                        "Unable to generate nonce. SecRandomCopyBytes failed with OSStatus \(errorCode)"
                    )
                }
                return random
            }

            randoms.forEach { random in
                if remainingLength == 0 {
                    return
                }

                if random < charset.count {
                    result.append(charset[Int(random)])
                    remainingLength -= 1
                }
            }
        }

        return result
    }

    // MARK: - Firebase用
    @available(iOS 13, *)
    private func sha256(_ input: String) -> String {
        let inputData = Data(input.utf8)
        let hashedData = SHA256.hash(data: inputData)
        let hashString = hashedData.compactMap {
            String(format: "%02x", $0)
        }.joined()

        return hashString
    }
    // MARK: - Firebase用
    @State  var currentNonce:String?

    var body: some View {
        VStack {
            SignInWithAppleButton(.signIn) { request in
                // MARK: - Request
                request.requestedScopes = [.email,.fullName]
                let nonce = randomNonceString()
                currentNonce = nonce
                request.nonce = sha256(nonce)

            } onCompletion: { result in
                switch result {
                    // MARK: - Result

                case .success(let authResults):
                    let appleIDCredential = authResults.credential as? ASAuthorizationAppleIDCredential

                    guard let nonce = currentNonce else {
                        fatalError("Invalid state: A login callback was received, but no login request was sent.")
                        return
                    }
                    guard let appleIDToken = appleIDCredential?.identityToken else {
                        fatalError("Invalid state: A login callback was received, but no login request was sent.")
                        return
                    }
                    guard let idTokenString = String(data: appleIDToken, encoding: .utf8) else {
                        print("Unable to serialize token string from data: \(appleIDToken.debugDescription)")
                        return
                    }

                    let credential = OAuthProvider.credential(withProviderID: "apple.com",idToken: idTokenString,rawNonce: nonce)
                    Auth.auth().signIn(with: credential) { result, error in
                        if result?.user != nil{
                            print("ログイン")
                        }
                    }

                case .failure(let error):
                    print("Authentication failed: \(error.localizedDescription)")
                    break
                }
            }
            .signInWithAppleButtonStyle(isDarkMode ? .white : .black)
            .frame(width: 224, height: 40)
        }
    }
}
まだまだ勉強中ですので間違っている点や至らぬ点がありましたら教えていただけると助かります。
ご覧いただきありがとうございました。