【Swift UIkit】UIAlertControllerの使い方とUIAlertActionでのアラートボタン実装方法!

この記事からわかること
- SwiftUIKitのUIAlertControllerの使い方
- アラート表示の実装の方法
- UIAlertActionでボタンを定義する流れ
- 削除ボタンやキャンセルボタンの作り方
index
[open]
\ アプリをリリースしました /


UIKitフレームワークで以下のようなアラート機能を表示できるUIAlertControllerの使い方をまとめていきます。
UIAlertControllerの使い方
UIAlertControllerクラスを使用してアラートを表示させる流れ
- UIAlertControllerをインスタンス化
- ボタンとなるUIAlertActionクラスをインスタンス化
- addActionメソッドでボタンを追加
- presentメソッドで表示
実装コード
class ViewController: UIViewController {
override func viewDidLoad() {
super.viewDidLoad()
}
@IBAction func showAlert(){
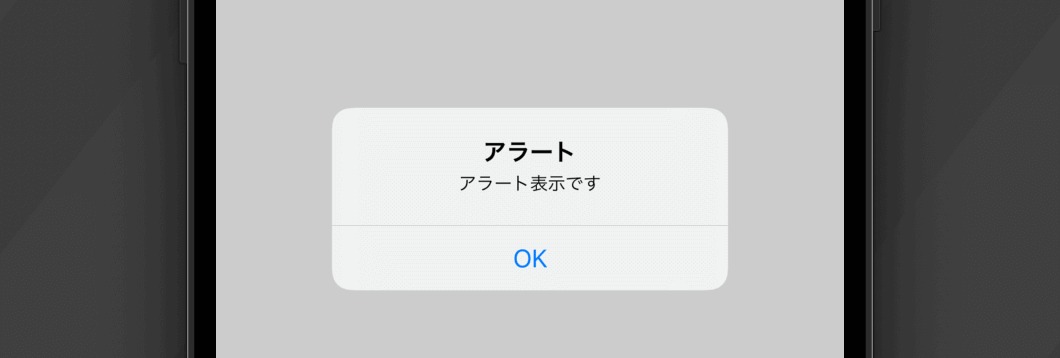
let alert = UIAlertController(title: "アラート", message: "アラート表示です", preferredStyle: .alert)
let ok = UIAlertAction(title: "OK", style: .default, handler: { (action) -> Void in
// OKボタン押下時に実行した処理
})
alert.addAction(ok)
self.present(alert, animated: true, completion: nil)
}
}UIAlertControllerをインスタンス化
let alert = UIAlertController(title: "アラート", message: "アラート表示です", preferredStyle: .alert)最初にUIAlertControllerインスタンスを生成し、アラート表示させるためのタイトルとメッセージを記述していきます。以下のようなイニシャライザが用意されているのでインスタンス化時にそのまま指定します。
convenience init(
    title: String?,
    message: String?,
    preferredStyle: UIAlertController.Style
)
ボタンとなるUIAlertActionクラスをインスタンス化
let ok = UIAlertAction(title: "OK", style: .default, handler: { (action) -> Void in
    // OKボタン押下時に実行した処理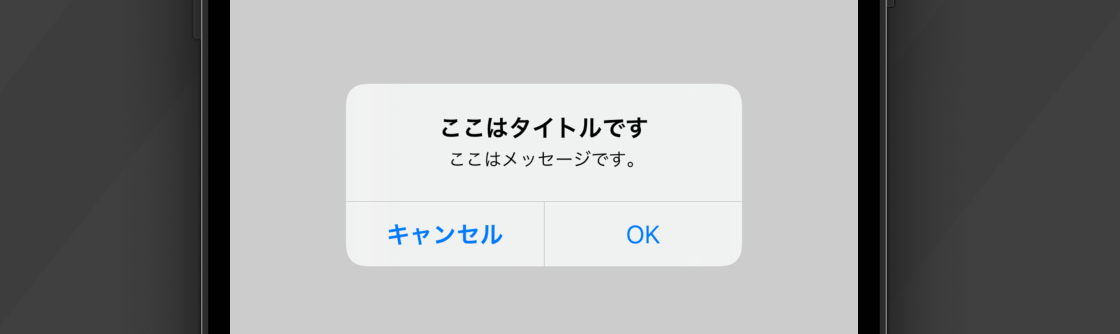
})アラート表示にボタンを追加するためにはUIAlertActionクラスを使用します。このクラスでボタンのタイトルと種類、押下された時に実行したい処理を定義します。
ボタンの種類は列挙型として定義されているUIAlertAction.Styleの中から指定します。
enum Style : Int, @unchecked  Sendable {
    case `default`  // デフォルト
    case cancel  // キャンセル
    case destructive // 削除
}
@IBAction func showAlert(){
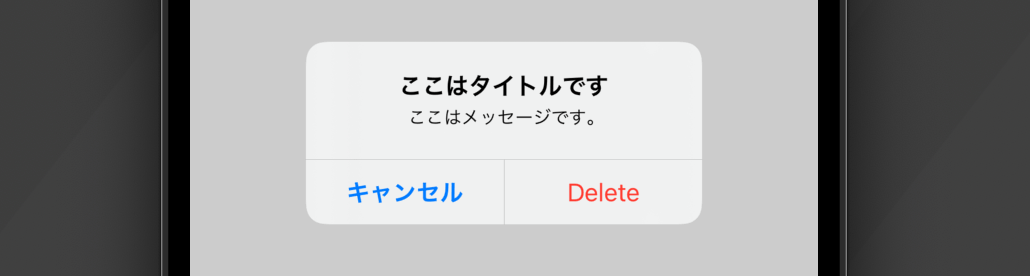
let alert = UIAlertController(title: "ここはタイトルです", message: "ここはメッセージです。", preferredStyle: .alert)
let delete = UIAlertAction(title: "削除", style: .destructive, handler: { (action) -> Void in
})
let cancel = UIAlertAction(title: "キャンセル", style: .cancel, handler: { (action) -> Void in
})
alert.addAction(delete)
alert.addAction(cancel)
self.present(alert, animated: true, completion: nil)
}ボタンは複数実装することもできるので必要な数のUIAlertActionインスタンスを作成しておきます。
addActionメソッドでボタンを追加
alert.addAction(ok)作成したボタンはUIAlertControllerと紐づける必要があります。addActionメソッドを使用することで引数に渡したUIAlertActionインスタンスをアラートに追加することができます。
presentメソッドで表示
self.present(alert, animated: true, completion: nil)最後に構築したアラート表示をUIViewControllerクラスが持つpresentメソッドを使って画面に表示させます。モーダルを表示させる時などにも使用するメソッドです。
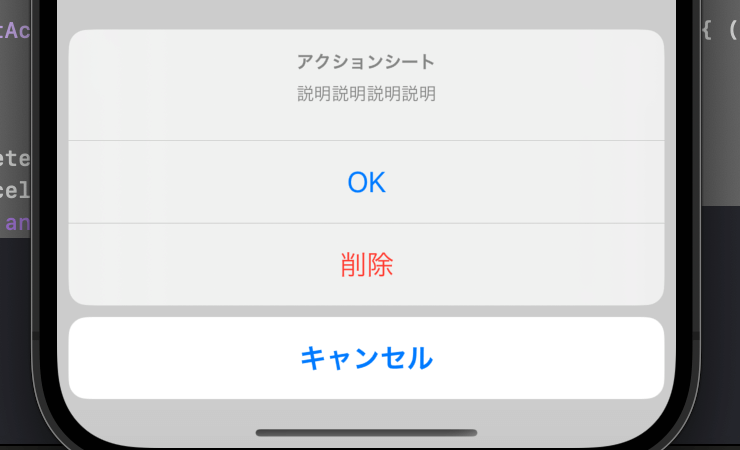
アクションシートを実装する
UIAlertControllerではpreferredStyleにactionSheetを使用します。以前は渡すことで画面下部から表示されるアクションシートを実装することも可能です。
@IBAction  func showAlert() {
  let alert = UIAlertController(title: "アクションシート", message: "説明説明説明説明", preferredStyle: .actionSheet)
  let ok = UIAlertAction(title: "OK", style: .default, handler: { (action) -> Void in
  })
  let delete = UIAlertAction(title: "削除", style: .destructive, handler: { (action) -> Void in

  })
  let cancel = UIAlertAction(title: "キャンセル", style: .cancel, handler: { (action) -> Void in

  })
  alert.addAction(ok)
  alert.addAction(delete)
  alert.addAction(cancel)
  self.present(alert, animated: true, completion: nil)
}
まだまだ勉強中ですので間違っている点や至らぬ点がありましたら教えていただけると助かります。
ご覧いただきありがとうございました。