【Swift UI】アプリアイコンにバッジを付与する方法!applicationIconBadgeNumber

この記事からわかること
- Swiftでアプリアイコンにバッジを付与する方法とは?
- Swift UI使用時の場合
- UIApplicationクラスのapplicationIconBadgeNumberプロパティ
- registerUserNotificationSettingsは非推奨
- UNUserNotificationCenterクラスのrequestAuthorizationメソッド
- completionHandlerとは?
index
[open]
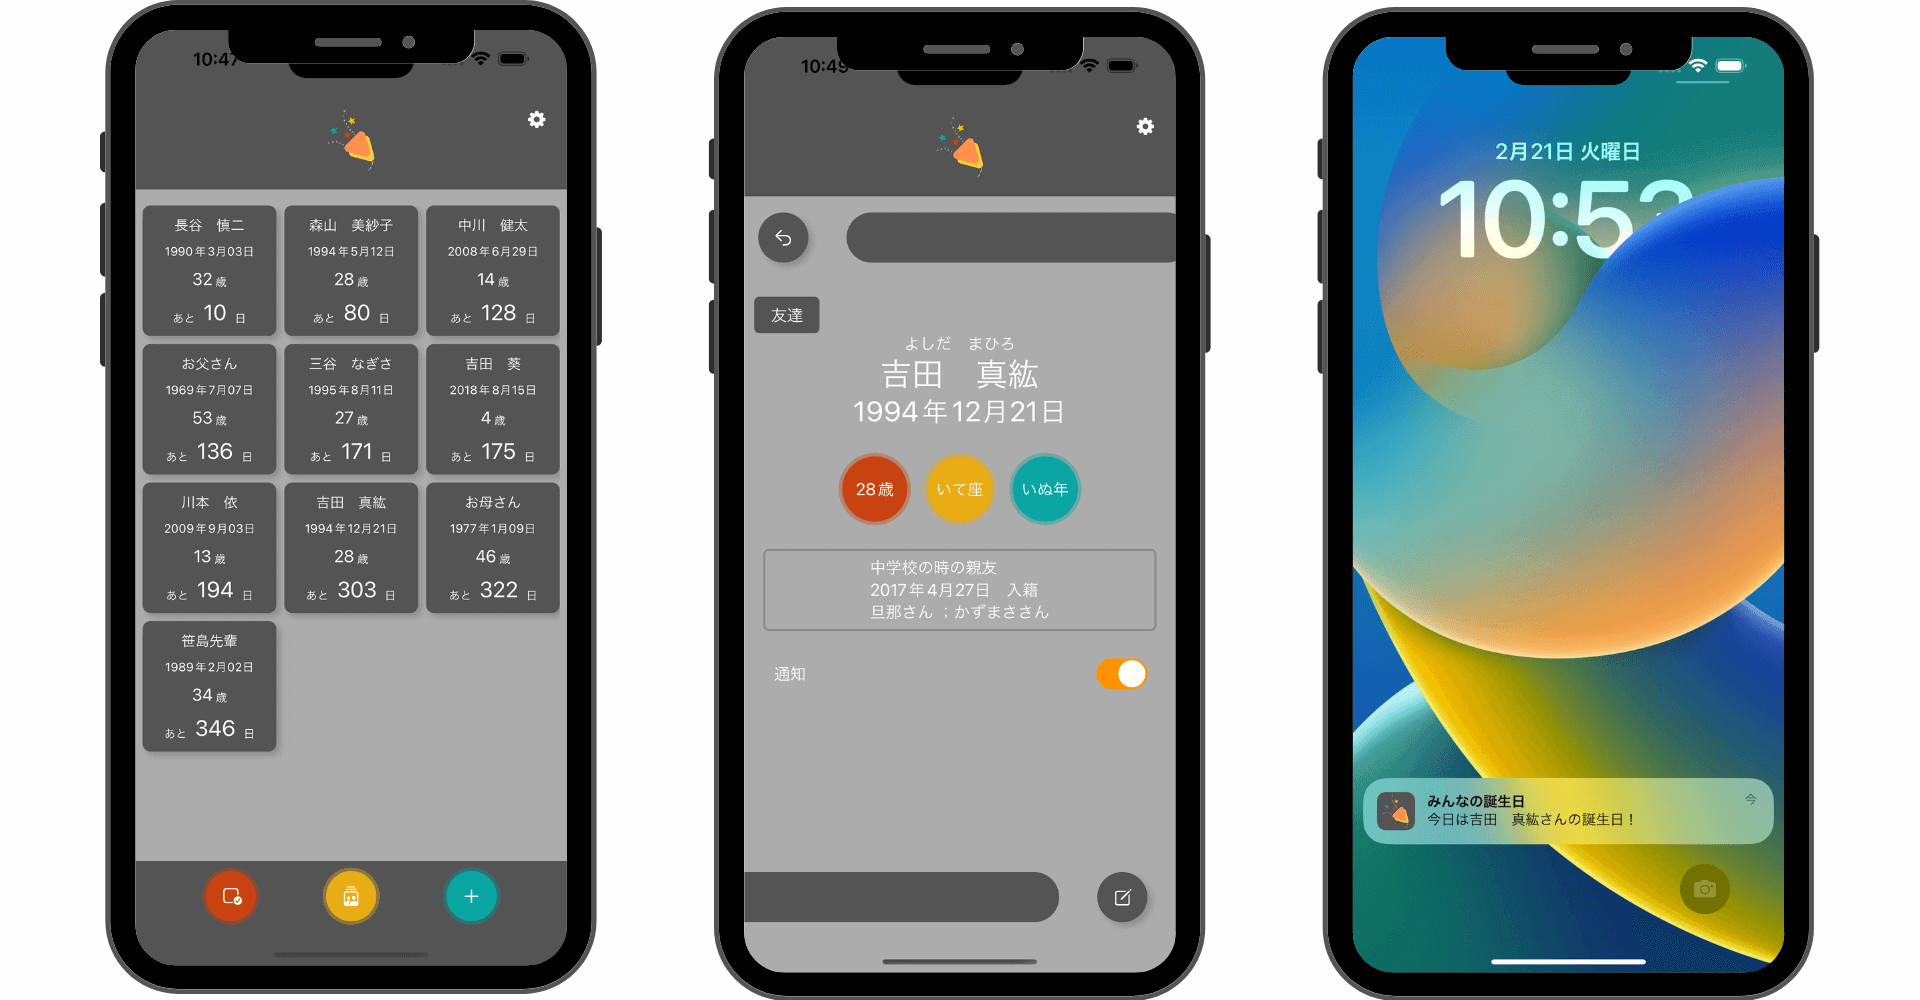
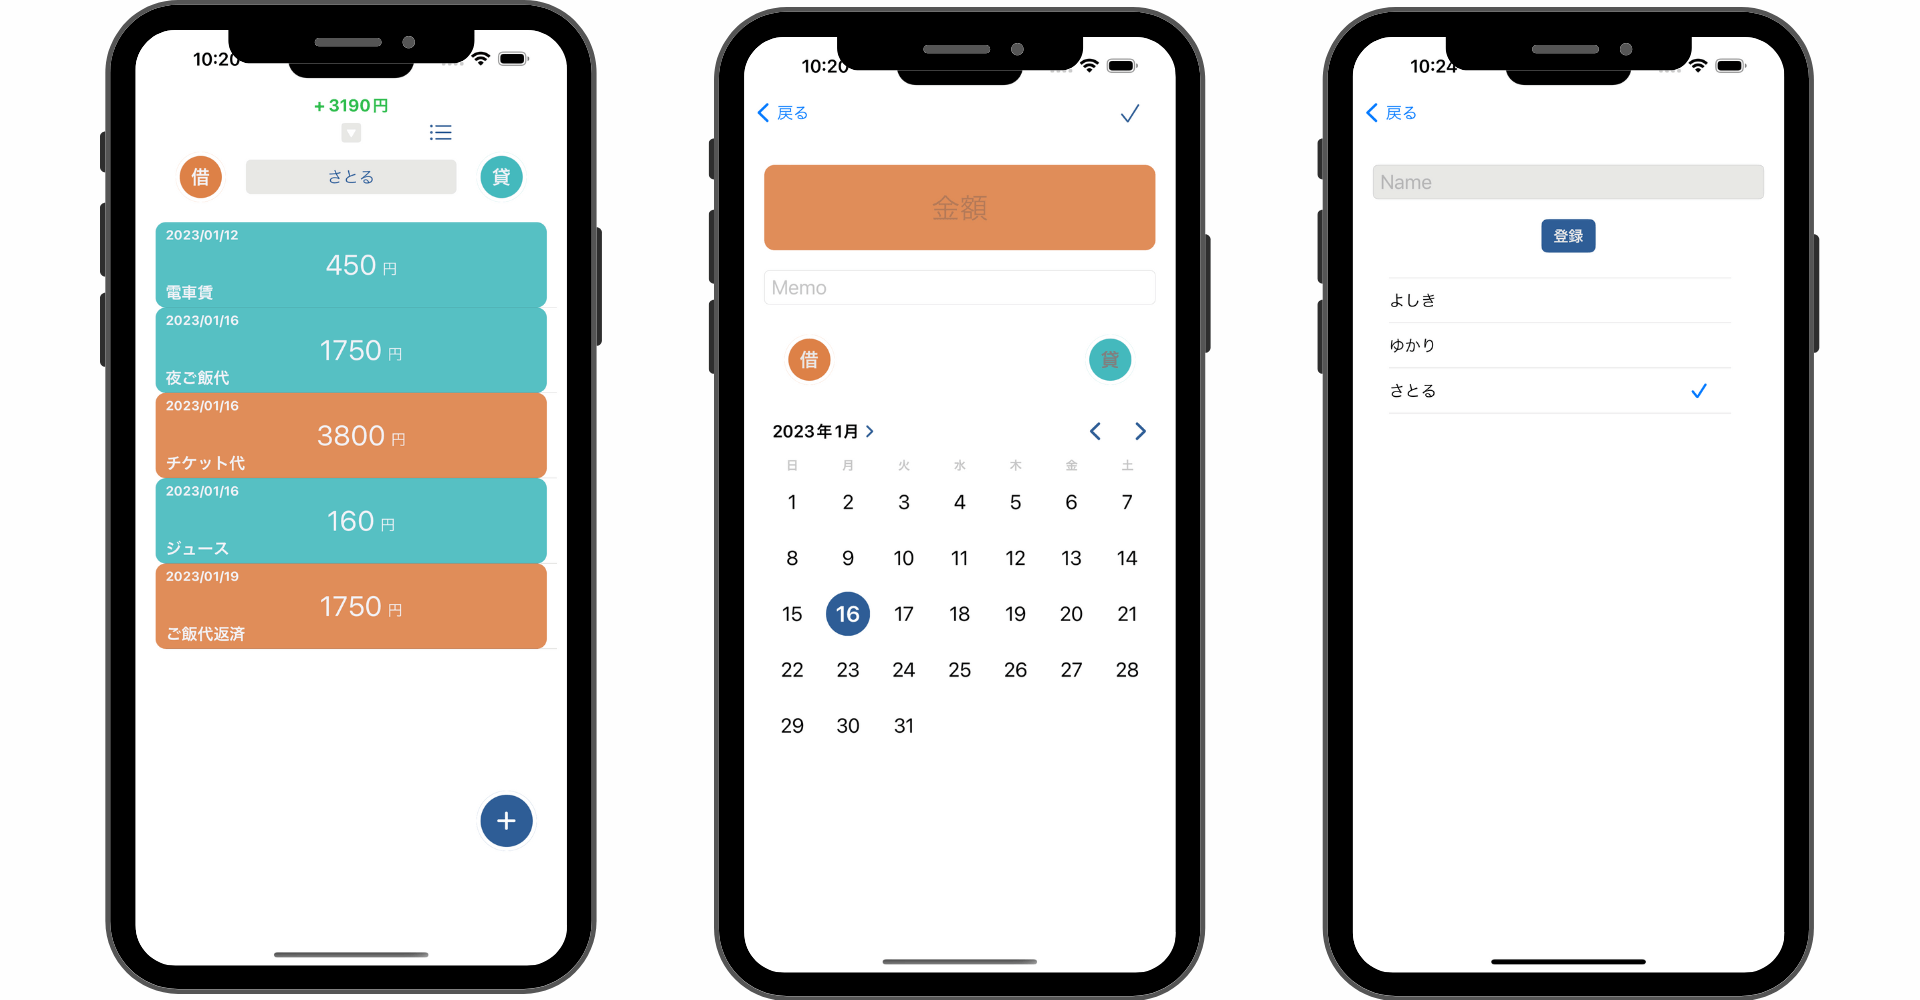
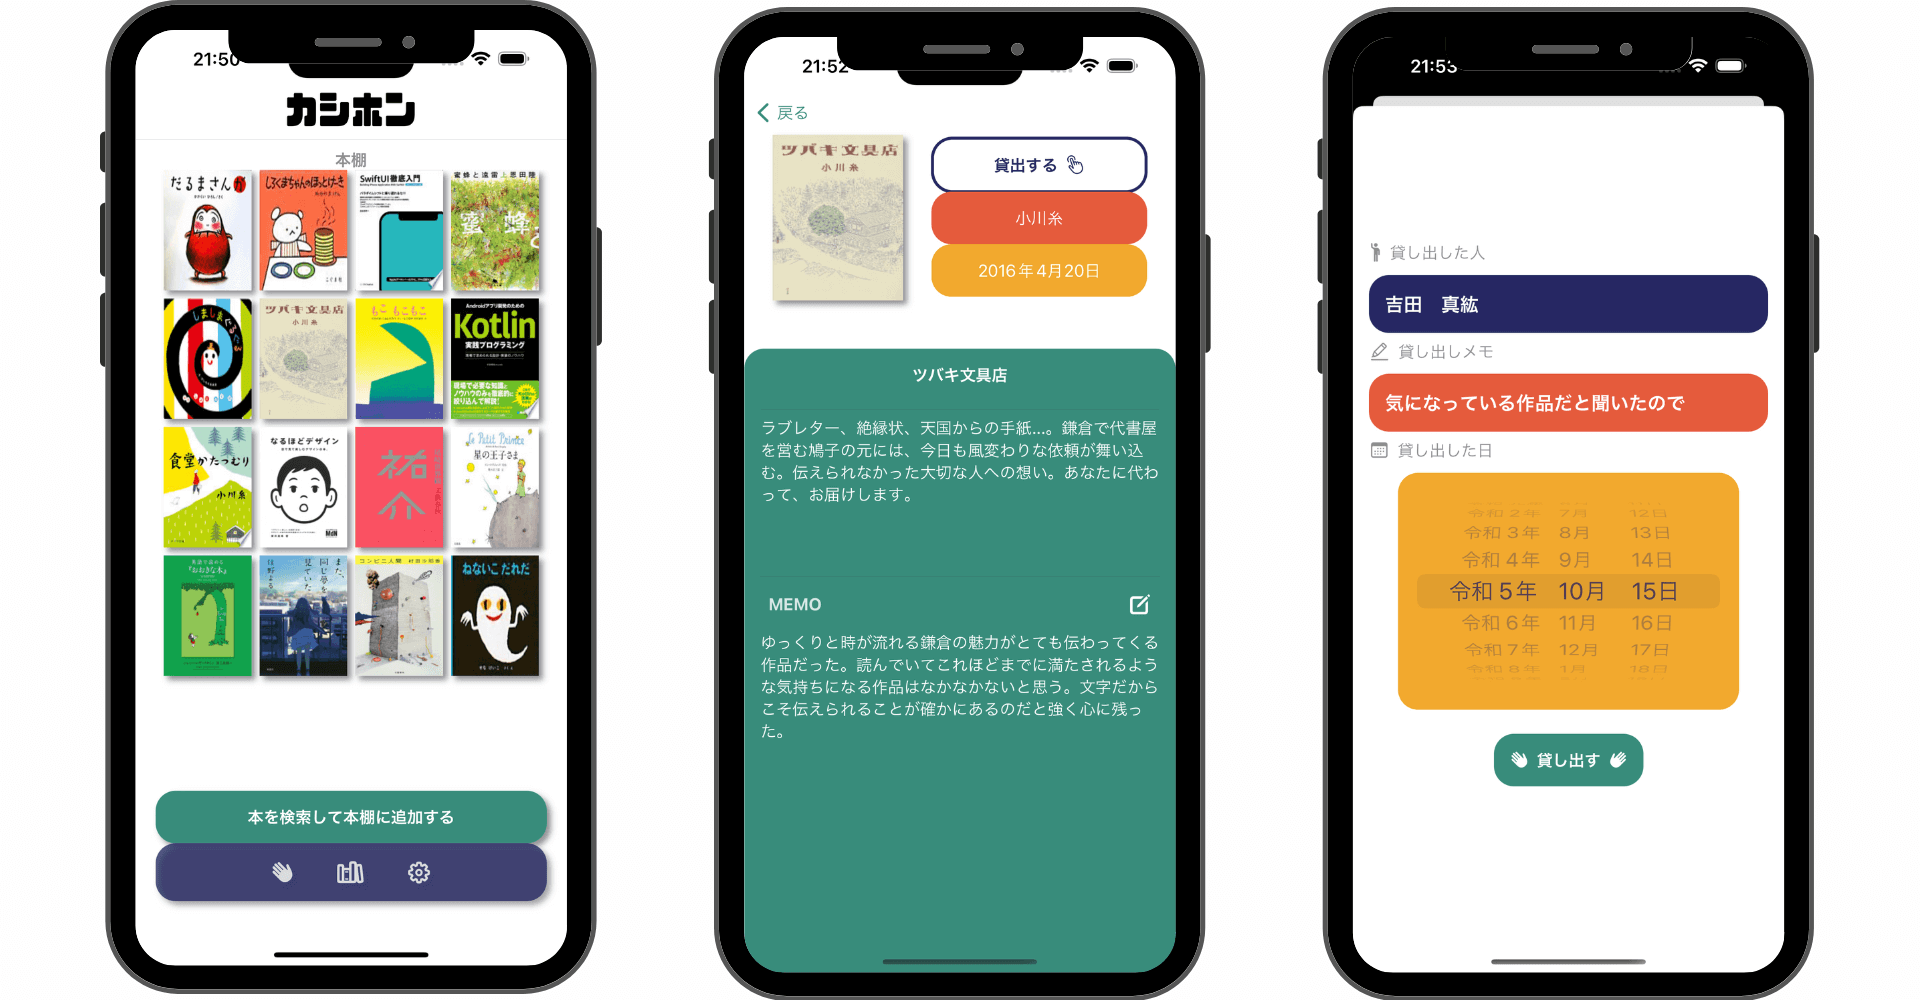
\ アプリをリリースしました /


Swiftの主要なフレームワークの1つ「UIKit」に組み込まれているUIApplicationクラスを使ってアプリアイコンにバッジを付与する方法をまとめていきます。
アプリアイコンにバッジを付与する方法
Swiftで作成したiOSアプリのホーム画面に設置されるアイコンに以下のようにバッジを付与するには通知の許可とバッジの値の設定が必要です。

通知の許可申請
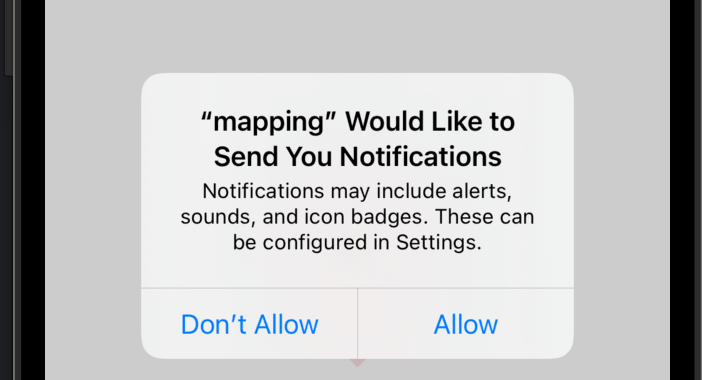
バッジを付与できるようにするためには使用するユーザーに対して通知を許可してもらう必要があります。そのためにまずはUNUserNotificationCenterクラスを用いて許可申請します。
UNUserNotificationCenter.current().requestAuthorization(options: .badge) { (granted, err) in
  // ユーザーに使用許可を申請
}
バッジの値を設定する
バッジの値はUIApplicationクラスのapplicationIconBadgeNumberプロパティに渡します。
let application = UIApplication.shared
application.applicationIconBadgeNumber = 5iOS10.0以前はUIApplicationクラスのregisterUserNotificationSettingsプロパティから許可申請することができましたが現在は非推奨となってしまっているので使わない方が安心です。
非推奨のバッジ付与コード
let application = UIApplication.shared
application.registerUserNotificationSettings(UIUserNotificationSettings(types: [.badge], categories: nil))
application.applicationIconBadgeNumber = 5
'registerUserNotificationSettings' was deprecated in iOS 10.0: Use UserNotifications Framework's -[UNUserNotificationCenter requestAuthorizationWithOptions:completionHandler:] and -[UNUserNotificationCenter setNotificationCategories:]
Swift UIのプロジェクトに組み込んでみる
Swiftのフレームワークを「Swift UI」で開発している場合の「バッジを付与する方法」を見ていきます。Swift UIのプロジェクトに組み込むにはView構造体のイニシャライザとして組み込みます。
import SwiftUI

struct ContentView: View {

    init() {
        UNUserNotificationCenter.current().requestAuthorization(options: .badge) { (granted, err) in
          // 許可を申請
        }
        let application = UIApplication.shared
        application.applicationIconBadgeNumber = 5 // バッジの値を付与
    }

    var body: some View {
        List{
            Text("要素1")
                .listRowBackground(Color.orange)
            Text("要素2")
                .listRowBackground(Color.cyan)
            Text("要素3")
                .listRowBackground(Color.red)
        }
    }
}
UNUserNotificationCenterクラスの概要と使い方
class UNUserNotificationCenter : NSObjectUNUserNotificationCenterクラスはアプリからユーザーに対しての通知関連を管理しているクラスです。このクラスを使用することでバッジをはじめ、アラートやサウンドなどを使用するためにユーザーに対して許可申請をすることができます。
currentメソッドでインスタンスにアクセス
UNUserNotificationCenterクラスを使用する際はそのままインスタンス化するのではなくcurrentメソッドを呼び出してインスタンスにアクセスします。currentメソッドは戻り値としてUNUserNotificationCenterインスタンスを返します
class func current() -> UNUserNotificationCenterrequestAuthorizationメソッドで通知許可を申請
UNUserNotificationCenterクラスのrequestAuthorizationメソッドはユーザーに対してアプリのローカル通知とリモート通知の承認を要求します。
func requestAuthorization(
    options: UNAuthorizationOptions = [],
    completionHandler: @escaping (Bool, Error?) -> Void
)引数optionsにはUNAuthorizationOptions構造体を渡します。
UNAuthorizationOptions構造体のプロティ
struct UNAuthorizationOptions {
  static var alert: UNAuthorizationOptions { get }       // アラート
  static var sound: UNAuthorizationOptions { get }       // サウンド
  static var badge: UNAuthorizationOptions { get }       // バッジ
  static var carPlay: UNAuthorizationOptions { get }     // carPlay
  static var provisional: UNAuthorizationOptions { get } // 通知機能のお試し用(通知許可ポップアップは非表示)
}
completionHandlerとは?
SwiftにはcompletionHandlerと呼ばれる仕組みがあります。いわゆる「イベントドリブン」な仕組みでイベントが発生してから処理が実行されます。
completionHandlerはクロージャが渡されています。Swiftではクロージャがメソッドの引数として渡されることがあります。ここでcompletionHandlerとして定義されているクロージャ((Bool, Error?) -> Void)は真偽値とエラーの2つを引数に受け取り、戻り値は空(Void)です。
completionHandlerは引数の値を与えられない(=イベントが発生しない)と実行されません。今回にイベント発生のタイミングはユーザーが通知に対して許可か拒否のアクションを起こした時です。
let center = UNUserNotificationCenter.current()
center.requestAuthorization(options: [.alert, .sound, .badge]) { granted, error in
    if granted {
      print("許可されました!")
    }else{
      print("拒否されました...")
    }
}まだまだ勉強中ですので間違っている点や至らぬ点がありましたら教えていただけると助かります。
ご覧いただきありがとうございました。
私がSwift UI学習に使用した参考書